Scheduling and Distributing Content


Video: How to Create Event-Based Schedules

An Alert schedule is an example of an event-based schedule. Alert reporting automates the evaluation of a defined condition in order to determine whether a report should be submitted.

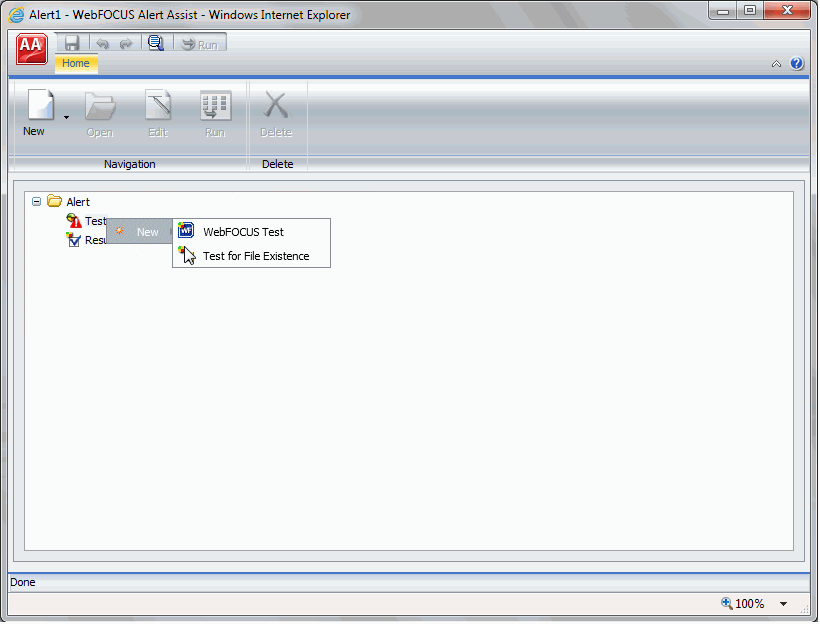
Components of an Alert

The Alert feature requires the following components:

  • WebFOCUS Reporting Server. This server is responsible for processing the procedure, accessing and retrieving the requested data, and creating the report when the Alert test is triggered (true).
  • Managed Reporting. This environment is used to create and manage Alerts in the WebFOCUS repository.

An Alert consists of the following:

Using Sample Data to Create and Schedule an Alert

A data-driven Alert is an event that is prompted by a guideline that you define. This guideline can vary from the simple to the complex. The following tutorial describes how to create a simple Alert that is triggered when the cost of goods exceeds the revenue for a brand. This type of Alert could help a company decide whether they should continue to carry a specific brand, based on the money loss throughout a given timeframe.

To follow this tutorial, you must have access to the WebFOCUS Retail sample data source.

Checking Scheduled Alerts

When an Alert test is false (and therefore not activated), the Alert result report is not run. When an Alert schedule runs, information about the Alert test evaluation (true or false) and any error or warning messages that occur during schedule or Alert processing are written to the log file.

In order to track the completion of a scheduled Alert, or errors that occurred during processing without checking the log report for the Alert schedule, we recommend that you use the Schedule Notification option.

In the Scheduling tool, the Notification tab allows you to specify:

Using the Performance Log to Track Schedule Performance

You can use the performance log to analyze the resource utilization of schedules with ReportCaster. This log records the processing duration of individual schedules and schedule components.

To access the performance log, navigate to the ReportCaster Console. On the ribbon, in the Manage Server group, click the Server Status tab. Then click the Server Log drop-down arrow to view the Server Log menu.

Checking the Job Status

Another resource for tracking schedules is the schedule job status. The schedule status provides a list of scheduled jobs that are in the Distribution Server queue. Status information includes the schedule ID, the time it started running, and the status of the job.

To access the schedule job status information, see the Job Status tab in the ReportCaster Console.

Tracking Schedules Using Log Reports

Information about a schedule, such as date, time, execution status, and recipients of a distributed job, can be accessed by running a log report and checking the job status in the ReportCaster Status. You can also analyze the resource utilization of schedules.

Log reports are stylized HTML format and appear in a separate browser window. You can search, print, or save the log report. The log report displays information according to your specifications in a separate browser window. One log record is produced for each scheduled job run in the specified time frame.

Publishing Schedules

A published schedule is visible to all users with access to the folder in which it resides. The shortcut menu options that appear on the schedule depend upon the privileges of the user that is signed in. For example, a user with the Run privilege is able to run the published schedule. When a published schedule runs, it runs as the creator of the schedule and not as the signed in user that initiated the run.