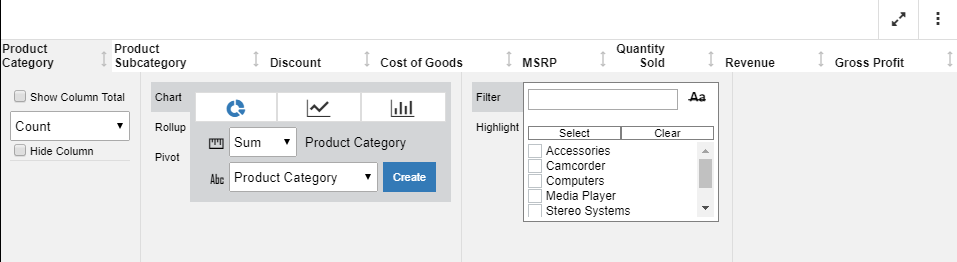
Configuring the Automatic Refresh Option for Charts
WebFOCUS Designer allows you to integrate real-time streaming data with your charts using the Automatic refresh option. For example, if you configured a connection to a streaming data source using the Kafka adapter, the Automatic refresh option can be enabled to update your chart dynamically at a specified interval (in seconds). Depending on your specific use case or requirements, you can configure multiple charts using the Automatic refresh option and add them to a page, portal, or workbook. Each chart will refresh independently with updated data based on the specified refresh rate.