Adding Icons to Portal Levels
You can further customize your portal by adding icons to pages and folders.
Procedure: How to Add Icons to Folders and Pages Inside a Portal
- Create a WebFOCUS Portal, as described in Creating Portals.
- Select the level to which you want to add icons, and locate its parent level.
In our example, we are enabling icons for the top level of navigation, so we will be configuring the portal folder itself.
- Right-click the portal folder and then click Properties.
The Properties panel opens.
- Navigate to the Advanced tab, select the Show menu icons for children checkbox, and click Save.
Now, any icons added to the top-level pages and folders are visible.
- Without closing the Properties panel, click the page or folder to which you want to add an icon.
- In the Menu Icon field, type the CSS class of an icon you want to add.
The following image shows an example of adding an icon to the Marketing folder.
You can reference available icons and their CSS classes in the following websites: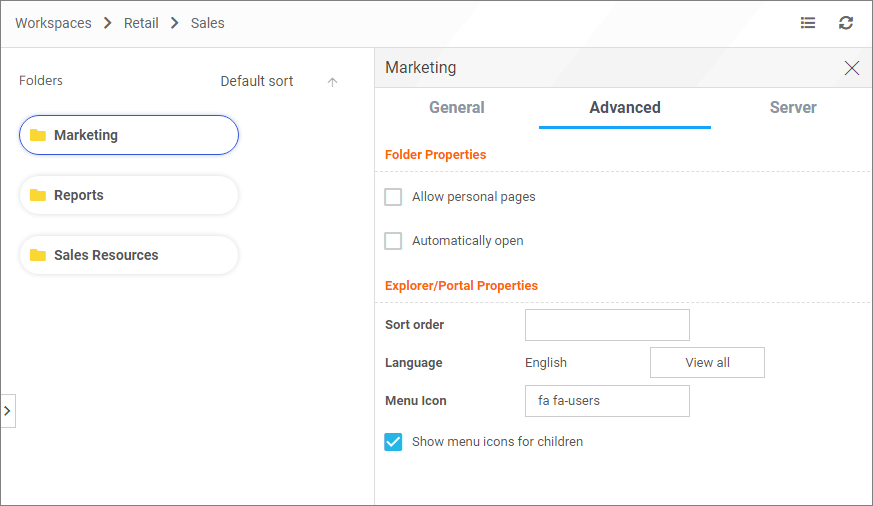
- https://fontawesome.com/icons/
- https://material.io/tools/icons/?style=baseline
Click an icon that you want to use in your portal and copy its CSS class. If you are using icons from the fontawesome.com website, your CSS class should look similar to the following:
far fa-circle
Note: WebFOCUS no longer supports the 4.7 version of Font Awesome icons. If you used those icons previously, they will not display in the current version of WebFOCUS. To restore the icons, navigate to the Font Awesome version 5 gallery by following the link above and replace your old CSS classes with the current ones. If you have a license for the Font Awesome Pro icon packs, you can use CSS classes for your Pro icons instead.
If you are using icons from the material.io website, your CSS class should look similar to the followingmaterial_icons pie-chart
- Repeat the process for other folders and pages of your choice, making sure that the parent folder has the Show menu icons for children property selected.
Note: Depending on the type of your navigation layout, certain levels do not display icons. The second level of the two-level side navigation layout does not display icons. The third level of the three-level navigation layout does not display icons. All layouts display icons for the top level of navigation. Responsive menus on mobile devices display icons for all levels of navigation.
- To see the icons applied, run your portal.
The following image shows the three-level navigation layout with icons added to the top and second levels.

When you resize the window, the same icons display in the side menu, as shown in the following images.
- Release: 8207
- Category: Building Portals
- Product: Business Intelligence Portal