Assigning Tags to Content Items
To refine a search for content within a domain or folder in your repository or in the Ask WebFOCUS view, you can assign tags that appear with your search results. These tags provide additional search criteria that you can use to drill down and identify related content items quickly. You can also assign tags to collaborative portals to ease navigation in the Portals view. Tags are turned off by default. To select a tag, click it. Tags are available in the grid view, and can be displayed as a column in the list view.
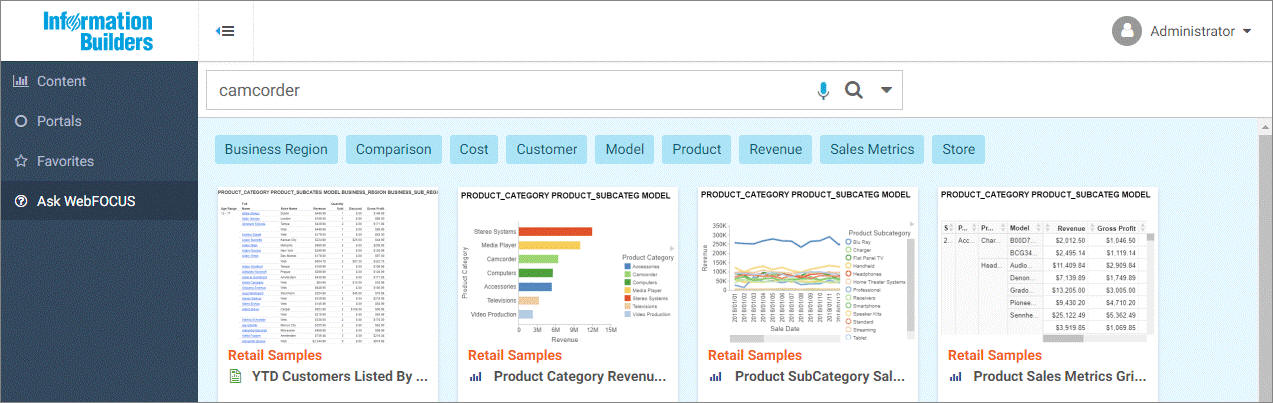
When you use tags in the Portals or Ask WebFOCUS views, where searches may bring results from different domains, the domains may be listed in two ways. When all your results come from a single domain, only the blue tags display, and the domain name appears in orange text inside the thumbnail, as shown in the following image.
If content is found in two or more domains, then green domain-specific tags display, allowing the user to filter the content by domain, as shown following image.
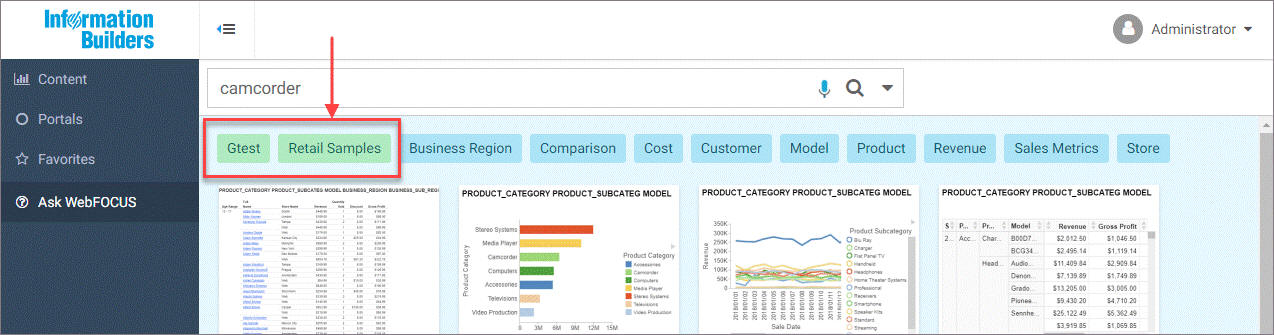
Note: Green domain-specific tags only display if two or more domains are present in a search or list. A single domain-specific tag is never displayed. Unlike a single blue content-specific tag, which filters results to that value, a single green tag would not alter the display of search results.
Assign Tags to Content
- In the WebFOCUS Explorer, right-click a content item that you want to assign to a tag, and then click Properties.
The Properties panel opens.
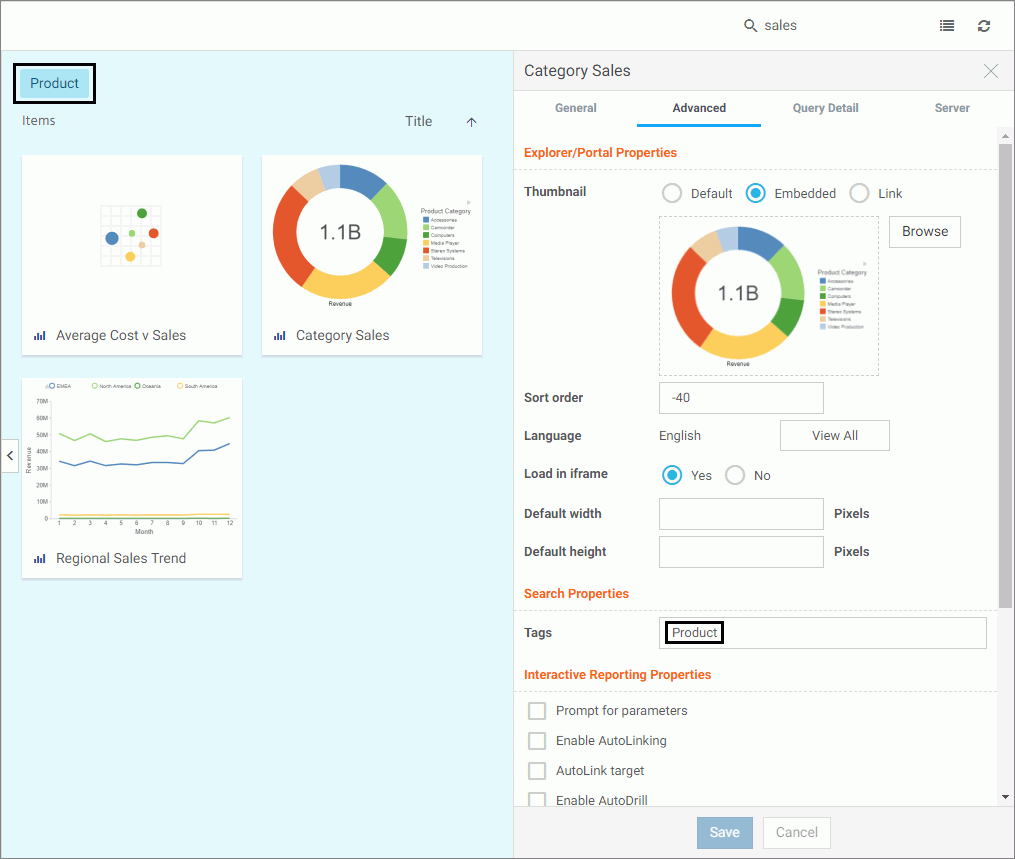
- Click the Advanced tab.
- In the Tags field, type the name of your tag, and then click Save.
To test the tag you assigned to the item, perform a search. The tag and item should appear in the search results. An example of a Product tag is shown in the following image.
You can assign multiple tags to a single item, by separating them with a comma, as shown in the following image.

- Release: 8206
- Category: Searching Content
- Product: InfoSearch
- Tags: How-to's