Choosing an Event Model for Your Page Filter
WebFOCUS Designer supports two event models for passing parameters to your page content:
- On-selection Change. Whenever you change a value of any filter control on the page, parameterized content refreshes to reflect your selection. This model is enabled, by default.
- Submit Button. After you make all desired changes to filter controls on the page and click the Submit button, parameterized content refreshes to reflect all your selections. This model can be enabled by dragging a Submit button control into the filter grid.
Procedure: How to Use On-selection Change Filters
- Add filters to a page.
- Click the Preview button.
The preview mode is activated, allowing you to interact with content and filters. If your page content contains default values, page filters and page content run in parallel, which results in a faster loading time.
- Make filter selections.
Each time you make a selection, the content refreshes to reflect it.
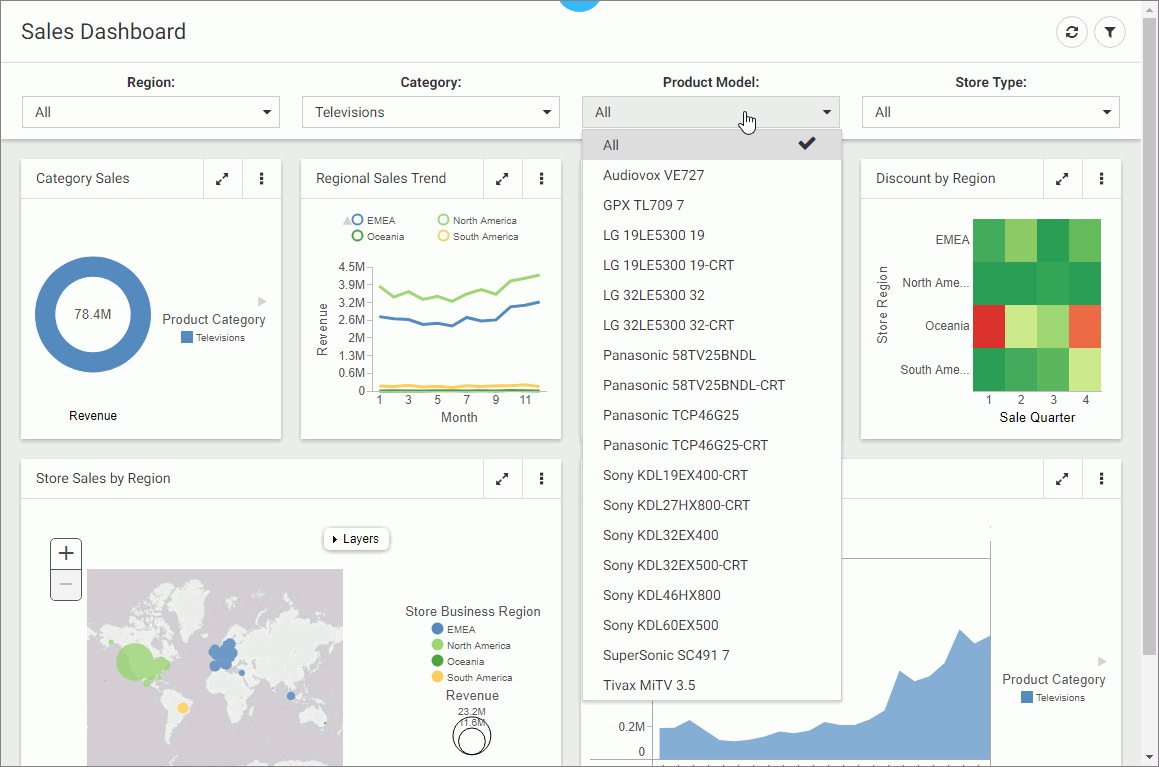
Note: Notice that the filter controls are chained in such a way that each selection automatically reflects the available choices in other filters. In our example, we set Category to Televisions. Now, the Product Model filter only shows models of televisions, as shown in the following image. WebFOCUS Designer chains controls automatically, if the parameters are defined in the metadata layer with the WITHIN keyword to relate them.
- Exit the preview mode and save your changes.
Procedure: How to Use Filters With a Submit Button
- Add filters to a page.
- From the Resource selector, click the Controls tab, and then drag the Submit button onto the filter grid.
The Submit and Reset buttons display in the filter grid.
- Optionally, customize the Submit and Reset buttons in any of the following ways:
- Align the Submit and Reset buttons by selecting the cell in which the buttons reside and customize the Cell Content Alignment option on the Style tab of the Properties panel. In this example, we selected Align control bottom and Align control center.
- Add a tooltip to the buttons by selecting each one and populating our the Tooltip field on the Settings tab of the Properties panel.
- Customize the width of the buttons in relation to the filter cell by selecting one of the options under the Control Object Width property. In this example we selected 50%.
Note: You can delete one or both buttons by right-clicking them and clicking Delete.
- Click the Preview button.
The preview mode is activated, allowing you to interact with content and filters.
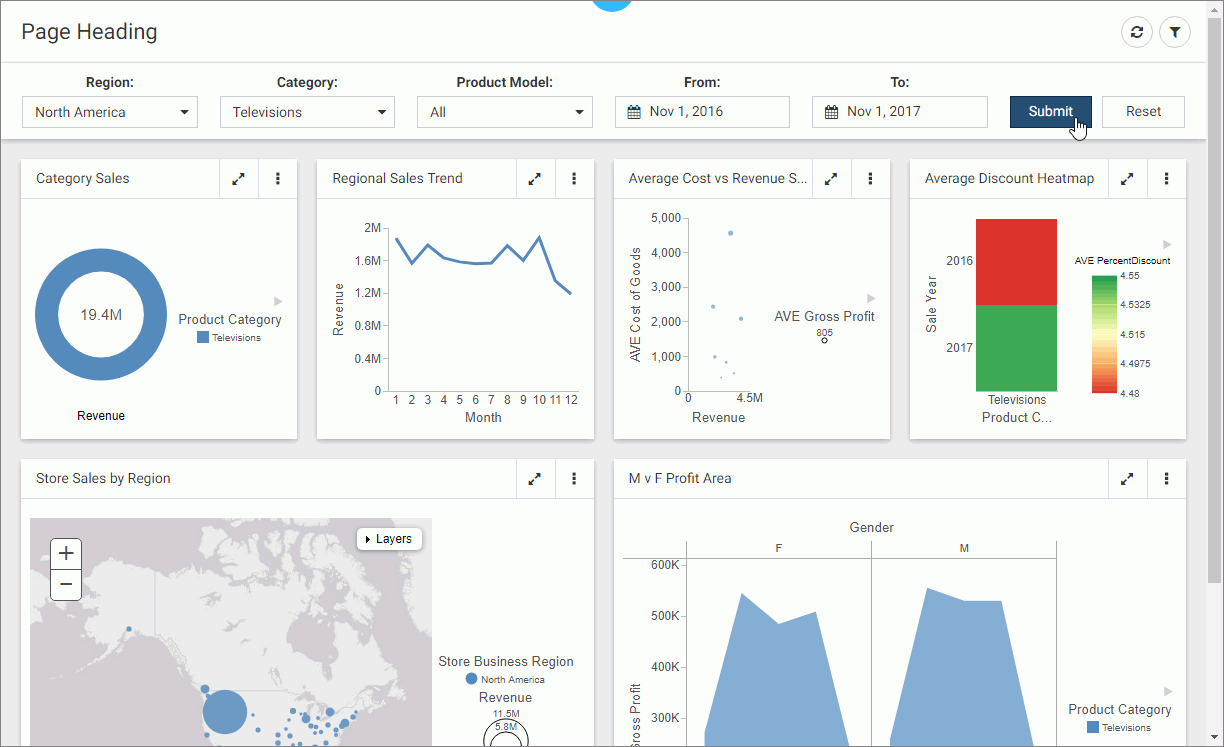
- Make filter selections and click Submit.
The content refreshes to reflect all your selections upon clicking the Submit button, as shown in the following image.
- Click Reset.
The filters return to their default values.
- Optionally, click Submit again to refresh the content with the default values.
Note: If you deleted the Reset button in the previous step, you must select default values manually, and then click Submit to return to the default state.
- Exit the preview mode and save your changes.
- Release: 8205
- Category: Adding Content to Pages