Creating a Workbench Page in a Designer Portal
You can use the URL feature in combination with the Workbench preset to place the Workbench page inside your Designer portal. This page can add flexibility to your portal application and serve as a launchpad for running content and navigating domains and folders within your repository.
Creating the Workbench portal page is done in three stages:
- Creating the Workbench URL
- Adding the Workbench URL to a Designer page
- Placing the page with the Workbench URL inside a portal
Procedure: How to Create the Workbench URL
- In a domain of your choice, in the Action bar, click Other, and then click URL.
The New URL dialog box opens.
- Fill out the Title field.
The Name field gets populated automatically.
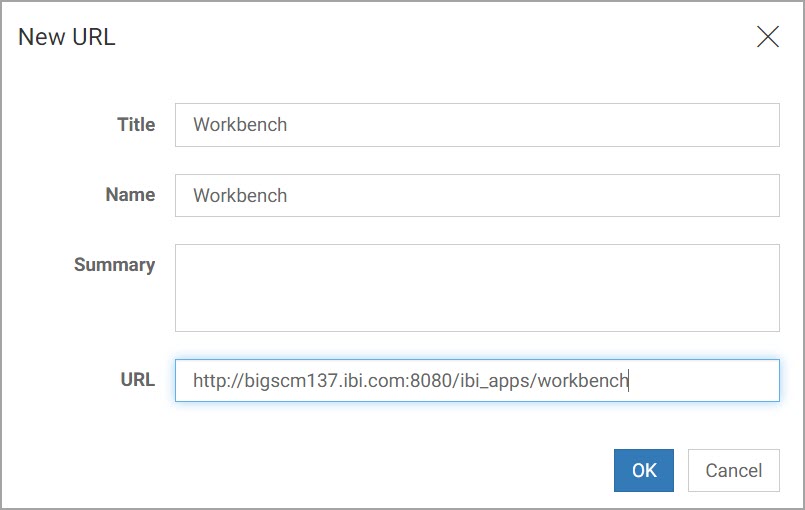
- In the URL field type the URL of your WebFOCUS environment followed by /workbench.
The following is an example of the workbench URL:
http://hostname:port/ibi_apps/workbench
where:
- hostname:port
-
Are the host name and HTTP port of the web server or application server.
An example of the populated New URL dialog box is shown in the following image.
- Click OK.
- Publish your newly created URL by right-clicking it and then clicking Publish.
Procedure: Create a Workbench Page
- On the Action bar, in the Designer tab, click Page.
WebFOCUS Designer opens in a new browser window.
- In the New Page dialog box, pick the Blank template.
The Designer canvas loads.
- From the Resources panel, drag your Workbench URL onto the canvas.
- Click Maximize in the upper right corner of the Workbench URL, as shown in the following image.
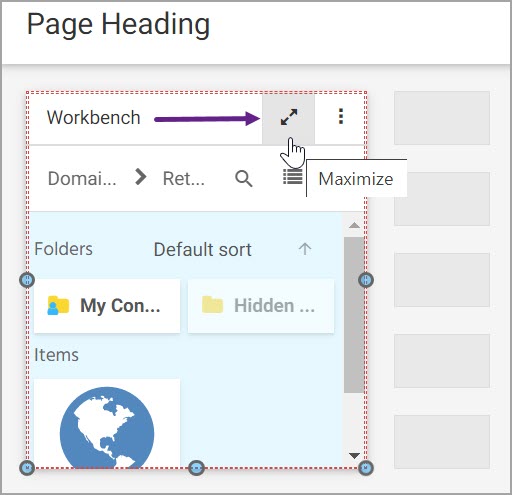
The Workbench URL now fills the entire canvas.
- Since you intend to use this page in a portal, remove the unnecessary page and container headings.
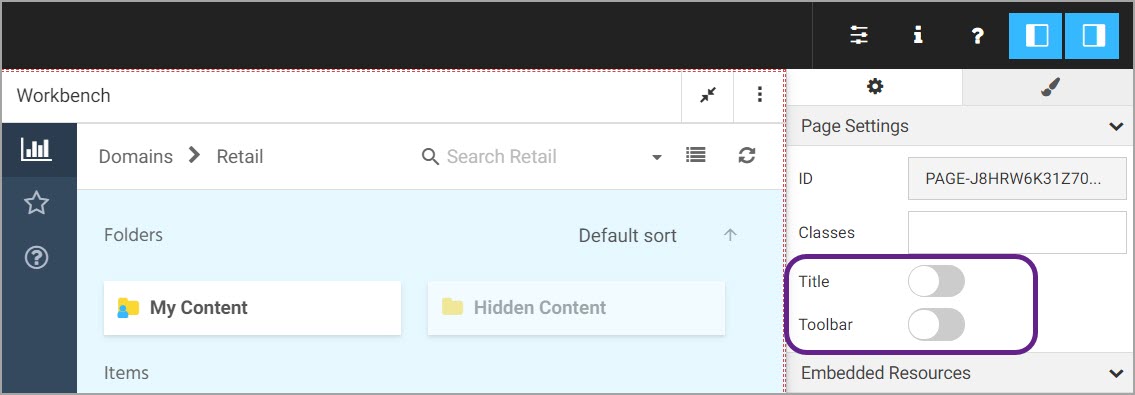
- Click the page heading, and, in the Properties panel, clear the Title and Toolbar toggles, as shown in the following image.
- Click the container heading, and, in the Properties panel, clear the Title and Toolbar toggle, similarly to the way did it on the page level.
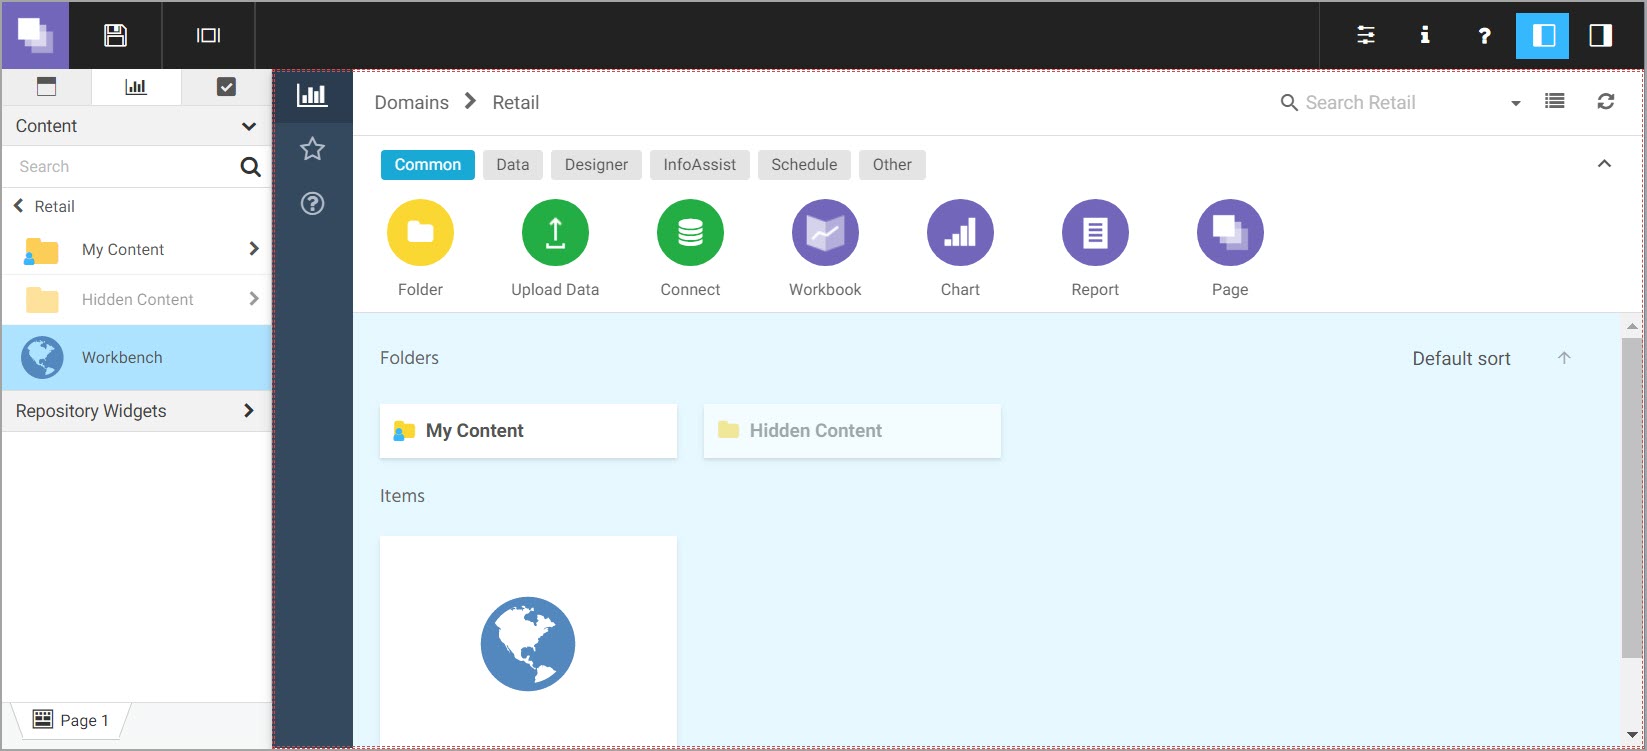
The final look of the page should resemble the following image.
- Click the page heading, and, in the Properties panel, clear the Title and Toolbar toggles, as shown in the following image.
- Save your page and exit WebFOCUS Designer.
- Return to the Home Page and publish your Workbench page.
Procedure: Add the Workbench Page to a Designer Portal
- Create a Designer Portal, as described in Creating Portals.
- Add the new Workbench page to the portal, as described in Defining a Portal Structure.
- Run your portal to view the final result.
The new Workbench page displays in the portal, as shown in the following image.
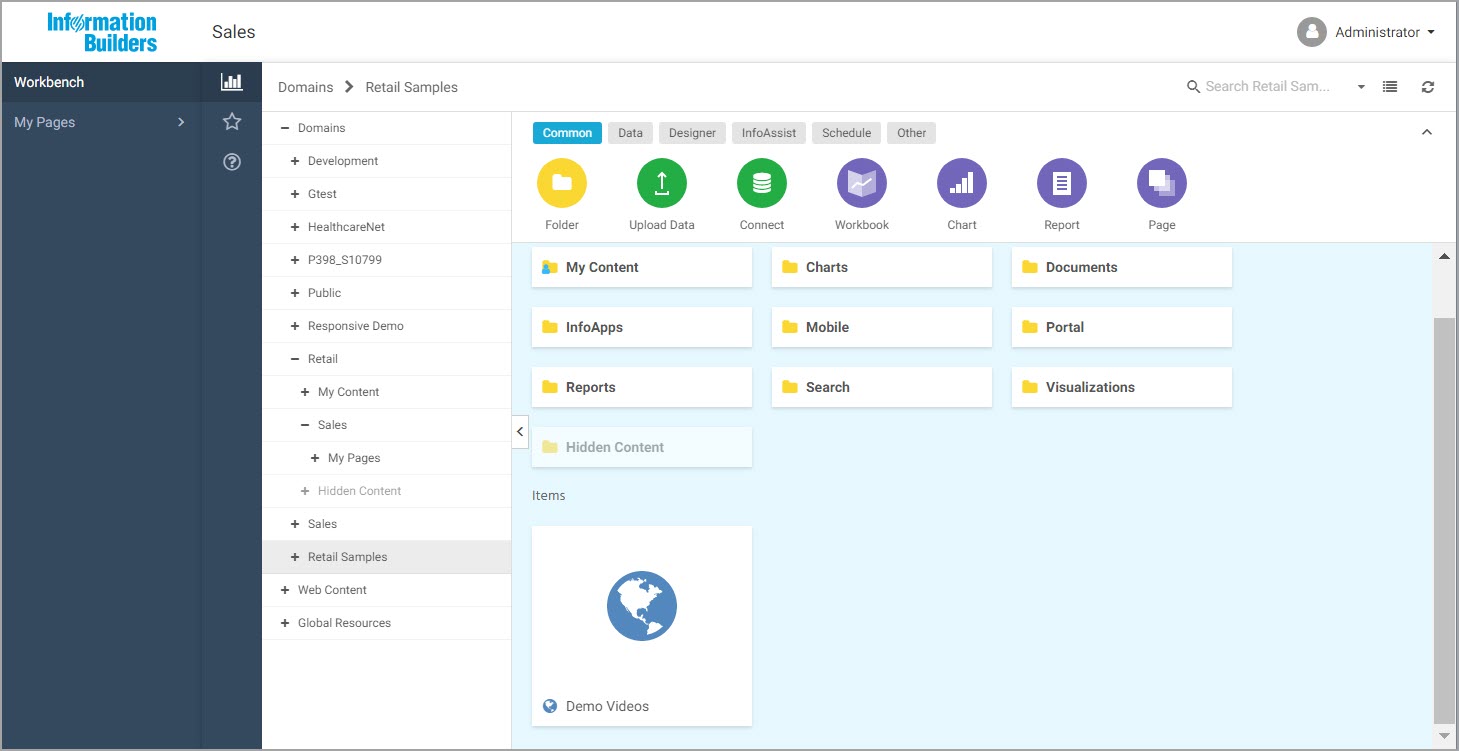
Your view of the Workbench page may vary depending on your role and permissions. Your Home Page access is fully mirrored in this page, allowing you to perform the same tasks that are available to you on the Home Page, directly from the portal.
- Release: 8206
- Category: Building Portals
- Product: Business Intelligence Portal
- Tags: How-to's