Enabling Container Customization
When creating a page with external content, you can enable users to select content to display at run time, which can make portal pages more engaging, useful, and interactive. With this feature you can also control which items users can access, by assigning a specific path to the Add content button in the Properties panel. This feature can be used with panel, tab, carousel, and accordion containers. If you enable this feature on a multi-content container, the Add content button automatically appears on every new tab, slide, or area.
Procedure: How to Configure the Container Customization Properties
- In a visualization using external content, drag an empty panel or a content item onto the canvas.
- With the panel or content item selected, in the Properties panel, on the Settings tab, disable the Lock container option.
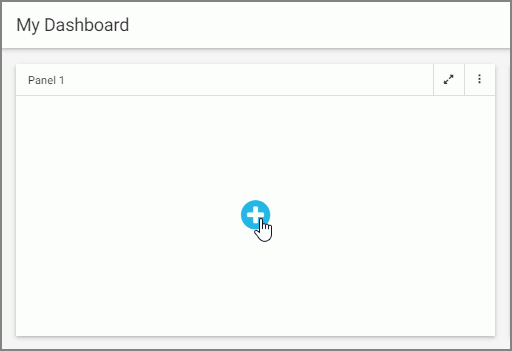
If you used an empty panel, the Add content icon displays in the middle of the selected panel.
- If you want to direct your selection to a specific area in the repository, click the ellipses next to the Select content from property to select a default workspace or folder that you want to display for content selection at run time.
- Keep the Lock path option selected, if you want to limit your selection to the path specified in the previous step. Otherwise, users can navigate to other workspaces to access content there in addition to the default path.
- Optionally, select the Flatten list option, if you want to hide the folder hierarchy inside your selection area and only display items.
- Optionally, select the Hide tags option, if you want to hide all tags from your selection area.
- Configure the Initial View option, choosing either Grid or List, to set the initial appearance of the window where users select the content to display.
Note: Users can change the view at run time inside the Select Item dialog box.
The following image shows an example of the configured Container Customization properties.

- Save the page.
Procedure: How to Select Content at Run Time
- Run the page that features interactive panels.
- Click the Add content button, as shown in the following image.
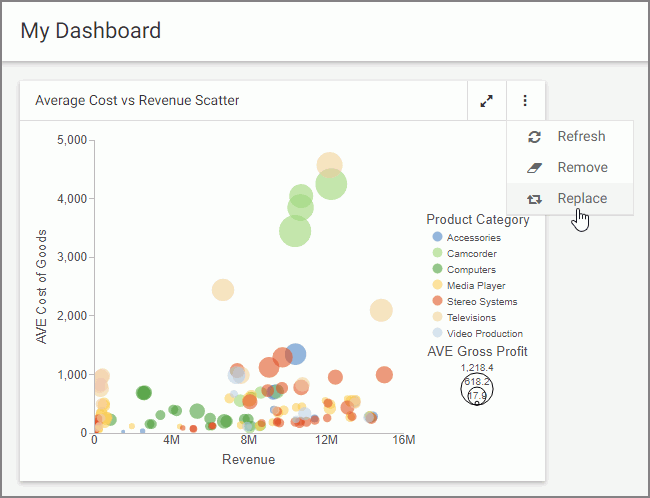
If you enabled container customization for a container with content in it, click the Options menu and then click Replace, as shown in the following image.
The Select Item dialog box opens.
If the Lock path option is disabled, you can navigate between workspaces using the breadcrumb trail.
If the Flatten list option is disabled, you can navigate between the folders within the selection area hierarchy.
You can also use the search function, toggle between the Grid and List views, and refresh your selection area.
- Make a selection and click Add.
The selected item displays inside the panel.
- To go back to the initial view of the interactive panel, click Options, and then click Remove, as shown in the following image.
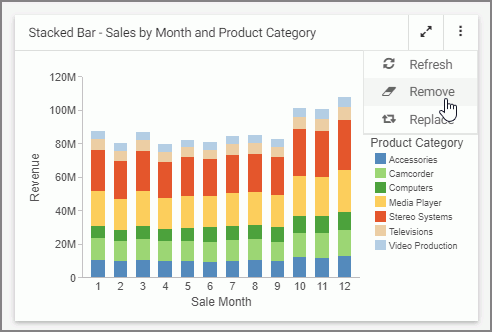
The item is removed from the panel, and the Add content button displays.
- To replace an item with another item, click Options, and then click Replace, as shown in the following image.
The Select Item dialog box opens, and you can make a new selection.
Note: When the page is used in a portal, content customization changes that the user makes at run time to unlocked containers are remembered if the user has the Save Portal Customization privilege. If the user does not have this privilege or if the content customization changes are made to a standalone page, these changes are not remembered by WebFOCUS.
- Release: 8207
- Category: Adding Content to Pages
- Product: WebFOCUS Designer
- Tags: How-to's