Enabling Sampling for a Data Flow
When a data source in a flow has a large volume of data, you can enable sampling for better response time. You can make decisions based on a sample, provided that sample is representative of the entire data set. Data Prep has a built-capability to automatically generate a random sample (with a 99% confidence level and +/- 1% margin of error).
To enable sampling:
- Create a flow by right clicking an application, clicking New, then Flow, or by clicking New on the ribbon, then Flow.
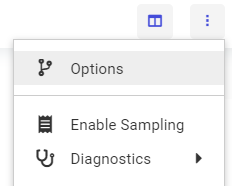
- Click Advanced on the ribbon, then click Enable Sampling, as shown in the following image.
Once you have enabled sampling, you can see if a file if a file was sampled, and the sample size, by hovering over the file, as shown in the following image.
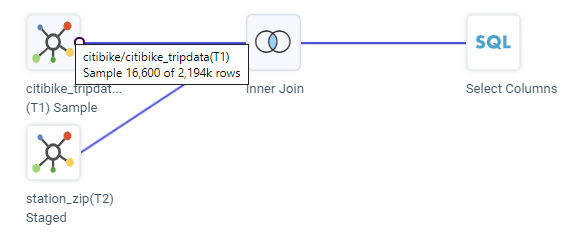
If a data source in a flow is not large enough to require sampling, it will not be sampled, but will be staged in the same staging target as the large sources, to eliminate joining disparate data sources and, therefore,improve join performance. By default, the staging target data source is a DATREC file, but you can configure staging target to be the same relational data source as the load target by checking Use ETL-TRG-DBMS for Sampling in the Data Flow parameters of the Advanced Options dialog box that opens when you click Options on the data flow menu.
You can also enable sampling for all flows, so that a sample is taken automatically if needed when the flow is opened. Change the setting Enable Sampling to On in the Data Assist (Representative Sampling) section of the Settings for Web Console Preferences page available from the Settings menu of the Web Console Workspace page.
- Release: 8207
- Category: Accessing Data, Connecting to Data, Data Management
- Product: Reporting Server
- Tags: Release Features