Importing a List of Members to Create Distribution Lists
You can create new Distribution Lists by importing members from an existing Distribution List file without entering individual members manually. Before you import a list, confirm that it meets the requirements for a Distribution List, such as comma-delimited records. This ensures that the list will import successfully.
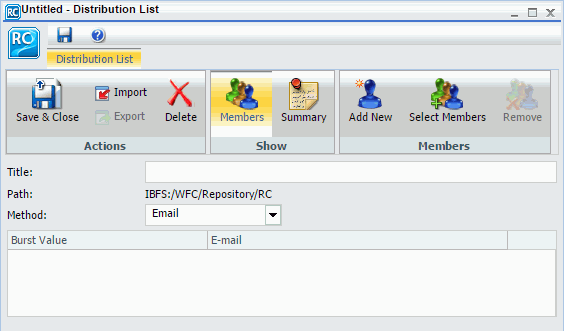
The Import option is available on the Distribution List tab, in the Actions group, as shown in the following image.
In addition to the minimum Distribution List requirements, your file can contain other information, such as descriptions, summaries, and types of Distribution Lists. This information can be used to populate any respective fields when you import the file.
Note: A Distribution List file containing special characters must be encoded in UTF-8 before it is imported.
Procedure: How to Import an Existing Distribution List
- From the WebFOCUS Home page, choose the domain in which you want to create the Distribution List.
- On the Actions bar, click Schedule, and then click Distribution List.
The Distribution List dialog box opens.
- Click Import.
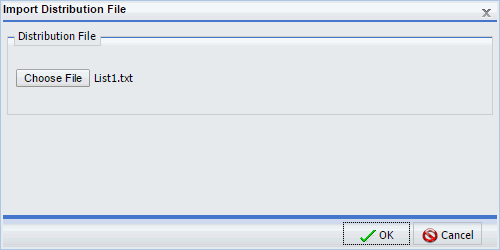
The Import Distribution File dialog box opens.
- Click Choose File, and select your distribution file from your file system.
- Click Open.
The file you chose appears in the Import Distribution File dialog box, as shown in the following image.
- Click OK to import the members of the file into the new Distribution List.
Now you can distribute content to members listed in your imported Distribution List.
- Optionally, modify the imported Distribution List.
- Click Save & Close.
- Release: 8205
- Category: Scheduling and Distributing Content
- Product: ReportCaster