Selecting a Data Source
To create a new visualization, such as a chart or report, you must first select a data source. This data source provides the fields and values that display in your content. It can be either a Master File, which is a data source description that allows you to structure the fields in a database or flat file into a more logical structure, or it can be a Reporting Object, which allows you to enhance a Master File with additional filters, default content items, and pre- and post-processing code. Both of these data source file types enable you to create content from data that you have uploaded or to which you have connected.
When you launch WebFOCUS Designer to create a new content item, you are prompted to select a data source, as shown in the following image.
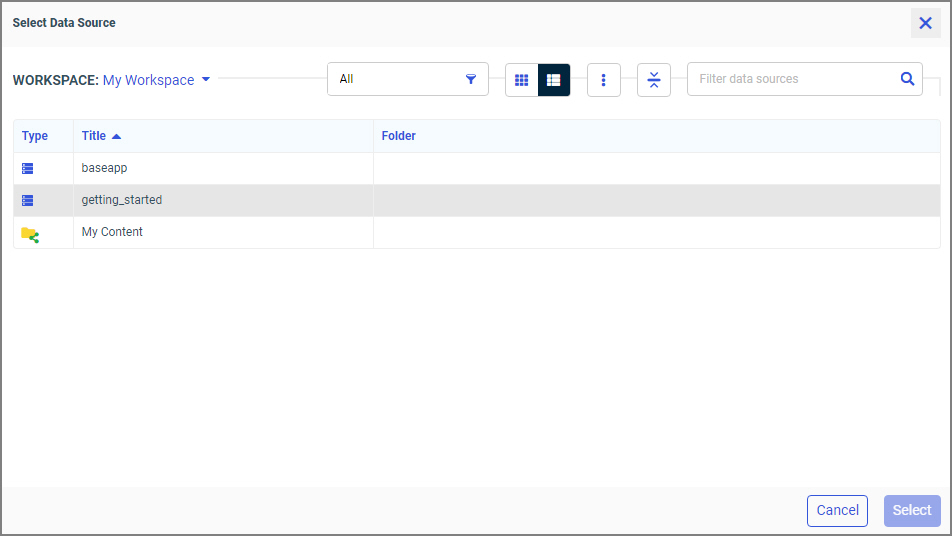
The Select Data Source dialog box provides a file explorer that you can use to navigate to and select a Master File or Reporting Object to use as a data source. In the default folder view, the file explorer shows application folders containing Master Files, as well as repository folders containing Reporting Objects and Master File shortcuts. You can navigate through levels of folders to find the data source file that you want to use to create content.
The files shown are associated with the workspace that you select. Each workspace has an associated application path. The application path is a set of application folders on the server that are accessible from that workspace. Administrators can modify the application path for each workspace in order to provide different data sources to the users in each one. This is performed in the Properties panel on the WebFOCUS start page. In the Workspaces area, right-click the workspace, click Properties, and click the Server tab. Select the Assign Application Path check box to specify the application folders that will be available from the selected workspace, then save your changes.
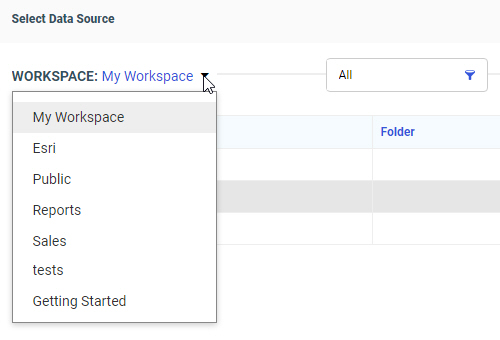
In the Select Data Source dialog box, the workspace from which you created your content is shown by default. You can change the workspace using the drop-down list on the toolbar at the top of the dialog box to access data sources from different application folders, as shown in the following image.
Options to filter and change your view of the folders and files in the file explorer are available on the toolbar, as shown in the following image.

Once you navigate to a folder containing available data sources, you can use the Filter by type menu to show only Master Files or only Reporting Objects instead of all items, so you can find the data source that you want to use more quickly.
You can also switch from the list view to a grid view, similar to the Workspaces area on the WebFOCUS start page. When in list view, you can change the columns that display to see different information in the file explorer. You can sort these columns to find the data source you want to use more quickly based on different properties.
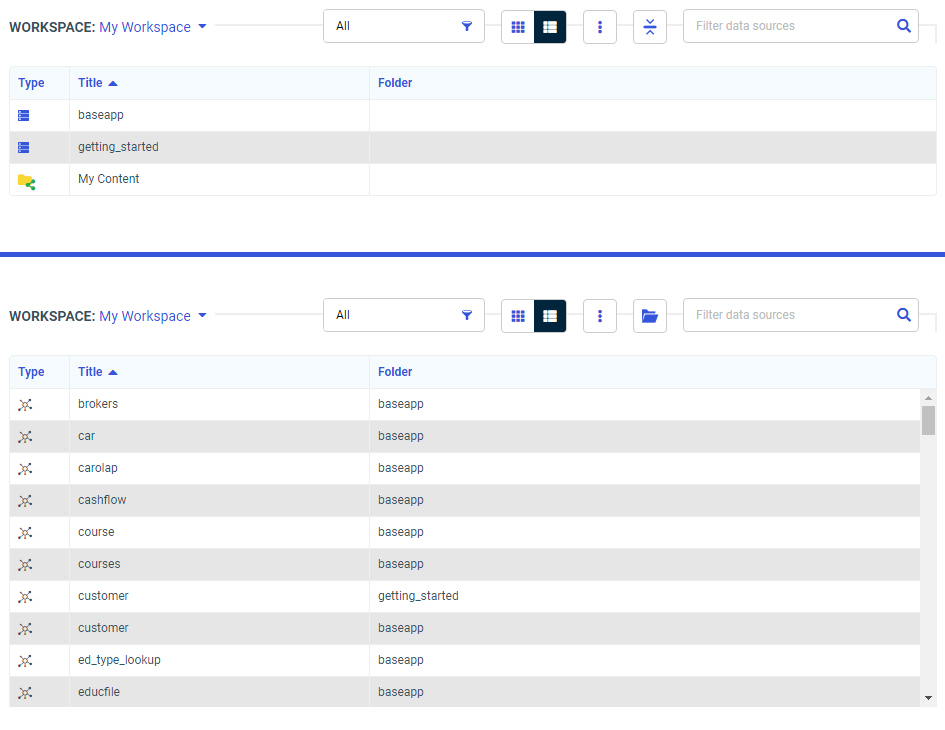
To see all data sources available from the selected workspace, switch from the folder view to the flat view  . In the flat view, you can see all data sources from all folders and subfolders in the application path and workspace. The following image shows the items from My Workspace displayed in the file explorer when the folder view and flat view are selected.
Using the flat view may result in a very large number of data sources being shown, so if you know where the data source that you want to use is saved, it may be easier to find using the default folder view.
Finally, use the search bar to find a folder or data source that is currently displayed in the file explorer by name. The file explorer is filtered based on your search query. Clear the search bar to show all items in the file explorer again.
Once you have found the Master File or Reporting Object that you want to use as a data source, double-click it, or select it and then click Submit, to begin creating your content.
- Release: 8207
- Category: Visualizing Data
- Product: WebFOCUS Designer
- Tags: How-to's