Sharing Schedules
The owner of a schedule that is located in a My Content folder can share that schedule with other users. You can set security rules only for schedules outside of a My Content folder.
Procedure: How to Share Schedules With Specific Groups or Users
From the Resources tree, if you are authorized to share your private content saved in a My Content folder, you can share a Schedule with users authorized to access the folder in which the Schedule is located by right-clicking the folder or schedule and clicking Share.
If you are authorized for advanced sharing, you can share your private content saved in a My Content folder with specific groups and users with whom you are authorized to share by performing the following steps.
- Right-click the schedule that you want to share and click Share With.
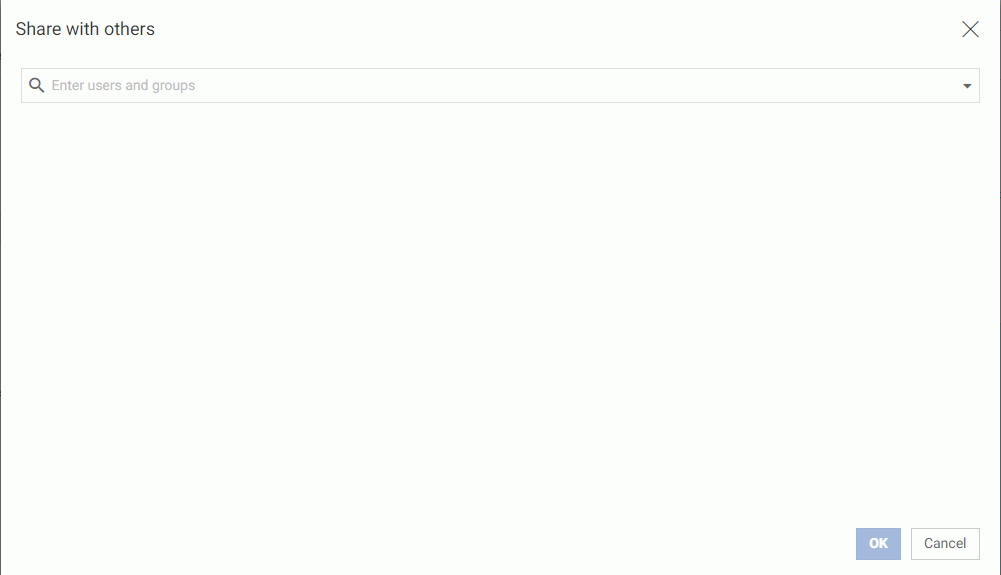
The Share with others dialog box displays, as shown in the following image.

- Click the drop-down arrow on the search box to display the filters for the users or groups that you want the option to select. You can filter your search results by Users or by Groups.
- After you select a filter, begin typing in the search box to display the users or groups that are available for selection. Click a user or group to add it to the list of users or groups that can view the schedule. Optionally, click the X on a User or Group tile to remove it from the list.
- When you are finished selecting users or groups to share your schedule with, click OK.
Procedure: How to Set Security Rules for Schedules
From the WebFOCUS Home page, you can set security for Schedules at any time by performing the following steps.
- Select the domain containing the schedule, or the unpublished schedule itself for which you want to set security.
- Right-click and point to Security and then click Rules.
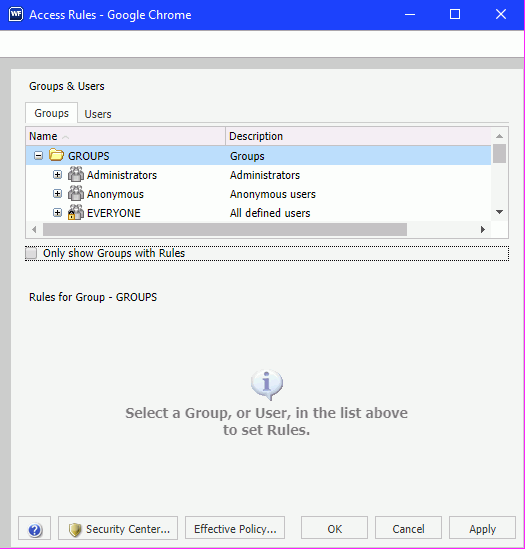
The Access Rules dialog box displays, as shown in the following image.

- In the Groups tab, click the group or individual users to whom you would like to grant access to the schedule. Optionally, click the Only show Groups with Rules check box to only display groups that have rules that have already been set.
The Roles for a selected group appear in the Rules for Group section.
- Optionally, in the Rules for Group section, click the Roles: drop-down list to only display specific Roles.
- Optionally, click the Only show Rules that have been set check box to filter the list of available roles even further.
- Select the Role that defines the functional capabilities for which to set the access level.
- Choose the access level in the Access drop-down list.
Options include:
- Not Set. Access is not specifically set. Access is determined by inherited rules.
- Permitted. Allows the functionality of the selected role as specified in the Apply To drop-down list. You can select Folder and Children, Folder Only, or Children Only.
- Denied. Denies the functionality of the selected role at the level specified in the Apply To drop-down list. You can select Folder and Children, Folder Only, or Children Only.
- Over Permitted. Overrides a Denied access level to allow the functionality of the selected Role at the level as specified in the Apply To drop-down list. You can select Folder and Children, Folder Only, or Children Only.
- Clear Inheritance. Erases all previously defined rules for the selected Role at the level specified in the Apply To drop-down list. You can select Folder and Children, Folder Only, or Children Only.
- Click the Users tab to display the list of individual users to whom you would like to grant access to the Library List. Optionally, click the Only show Users with Rules check box to only display users that have rules that have already been set.
The Roles for a selected user appear in the Rules for User section.
- Optionally, in the Rules for User section, click the Roles: drop-down list to only display specific roles.
- Optionally, click the Only show Rules that have been set check box to filter the list of available roles even further.
- Select the Role that defines the functional capabilities for which to set the access level.
- Choose the access level in the Access drop-down list, as described in Step 7.
- Click Apply.
- Click OK.
Your security setting updates are now saved for your schedule.
- Release: 8205
- Category: Scheduling and Distributing Content
- Product: ReportCaster
