Targeting a Page to Open When Running a Portal
You can target a specific page or sub-page while running a portal from an alias URL. This URL can then be saved and bookmarked similarly to any other page on the web. To learn more about creating an alias, see Creating Portals.
Procedure: How to Target a Page to Open in a Portal at Run Time
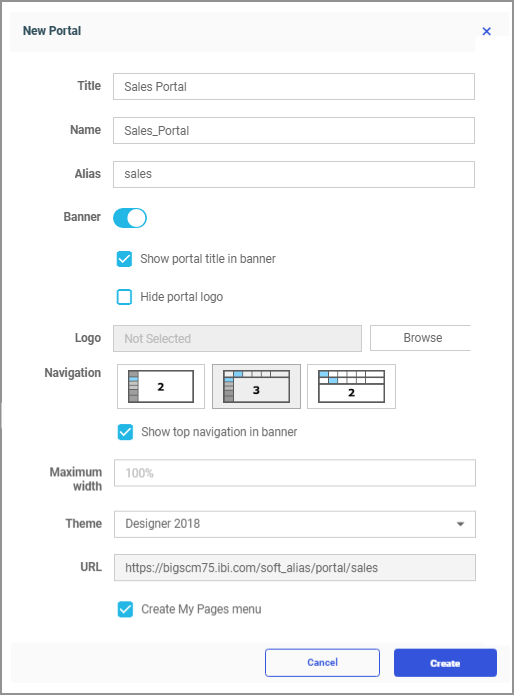
- Create a portal as described in Creating Portals, making sure to give your portal a unique alias.
Note: If your exact alias already exists in the repository, you will not be able to save your portal. Modify the name of your alias to save your portal and close the New Portal dialog box.
An example of the populated New Portal dialog box with an alias is shown in the following image.
- Populate your new portal with levels, as described in Defining a Portal Structure.
- Generate a URL to the level of your choice by applying the following sequence:
http[s]://hostname:port/ibi_apps/portal/portal_alias/page_2
where:
- hostname:port
-
Are the host name and HTTP port of the web server or application server.
- portal_alias
-
Is the name of your alias.
- page_2
-
Is the name of the level that you want to open when your portal runs.
In our example, we want the second tab to open when the portal runs. Follow these steps to achieve this result:
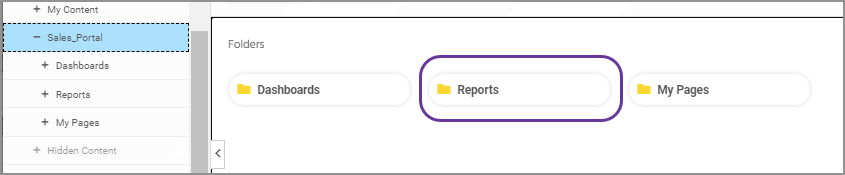
- Locate the level within the portal structure that corresponds to the tab that you want to open at run time.
In our example, we locate the Reports folder, as shown in the following image.
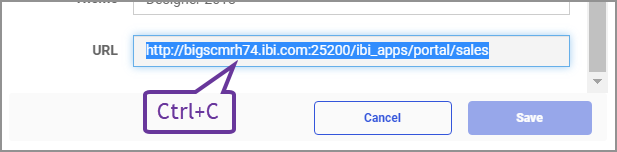
- To easily locate the alias link, right-click your portal, click Edit, and copy the URL field value, as shown in the following image.
- In a new browser window, paste your alias URL in the address bar, add / and the name of your level at the end of your URL, in our case /Reports.
Your URL is ready to be run.
- Press Enter to run your URL.
The portal runs and opens the level that we selected, as shown in the following image.
new.png)
- Optionally, bookmark this URL for future use.
Procedure: How to Target a Sub-page to Open in a Portal at Run Time
By default, when a portal runs, the first page of the first tab displays. You can change this behavior by creating a direct link to a specific sub-level.
- Create a portal and populate it with levels, as described in the previous procedure.
- Generate a URL to the sub-level of your choice by applying the following sequence:
http[s]://hostname:port/ibi_apps/portal/portal_alias/menu_1/page_2
where:
- hostname:port
-
Are the host name and HTTP port of the web server or application server.
- portal_alias
-
Is the name of your alias.
- menu_1
-
Is the name of the level which contains the page that you want to display.
- page_2
-
Is the name of the page that you want to display.
In our example, we want the second page under the first tab to open when the portal runs. Follow these steps to achieve this result:
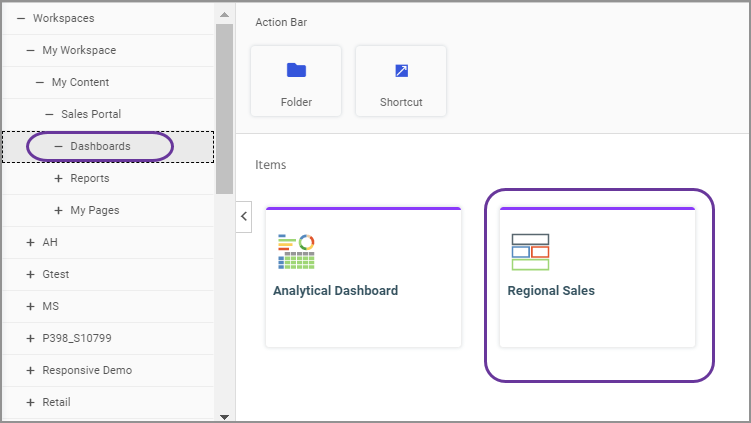
- Locate the page within the portal structure that corresponds to the sub-level that you want to open at run time.
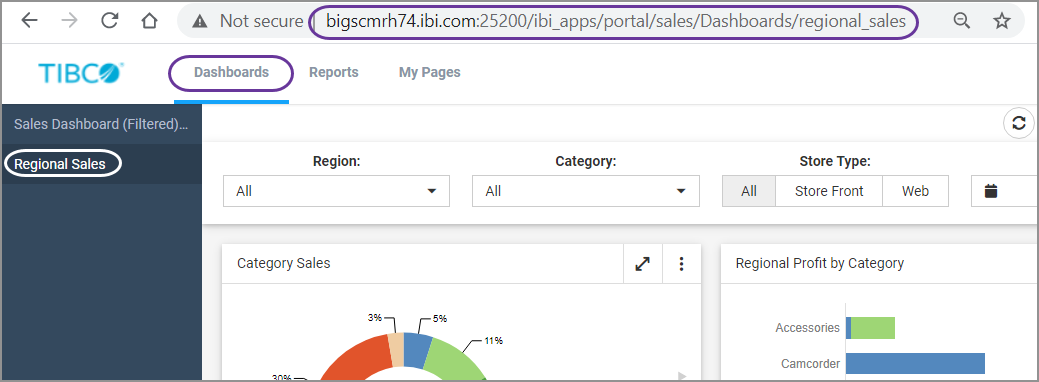
In our example, we locate the Regional Sales page inside the Dashboards folder, as shown in the following image.
- Locate and copy the alias URL, as described in the previous procedure.
- In a new browser window, paste your alias URL in the address bar, and add the names of your level and sub-level, separated with the / symbols.
In our case, we are adding /Dashboards/regional_sales.
Note: The URL is case-sensitive. If you are unsure of the correct name of your level or sub-level, right-click this element on the Home Page, click Properties, and, in the Properties panel, check the Name field value.
- Press Enter to run your URL.
The portal runs and the second page of the first tab displays, as shown in the following image.
- Optionally, bookmark this URL for future use.
- Release: 8207
- Category: Building Portals
- Product: Business Intelligence Portal
- Tags: Enhancements, How-to's