Embedding Search and Navigation Widgets in Portals
Available as a Technical Preview, you can use embeddable widgets to enhance your WebFOCUS experience. Embeddable widgets are URL-based items that you can integrate into your page or portal to create an app-like display with added functionality and navigation options.
An example of the Home widget is shown in the following image.
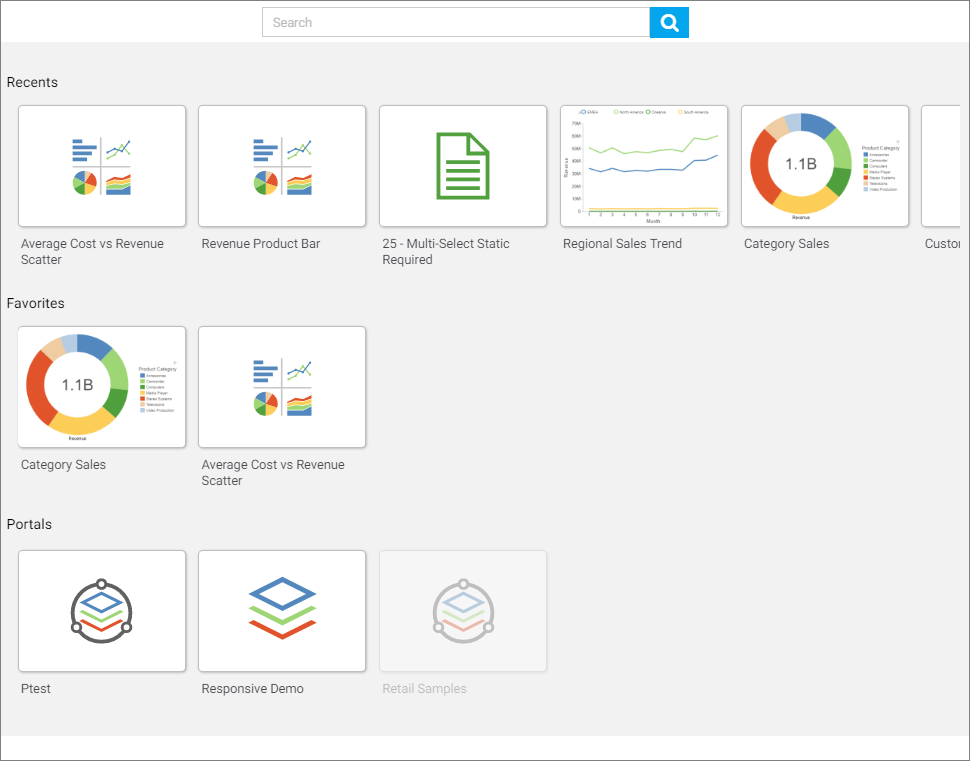
The Home widget allows you to search for items in your repository straight from the page or portal, in which the widget is integrated. As you access and run content, it populates the Recents section of the widget, making it easy to come back to your search history. You can also save repository items as Favorites, in which case, they appear in the Favorites section. To designate an item as a Favorite, right-click the item, and select Add to Favorites. The Portals section of the widget displays all the existing portals in your repository.
An example of the Navigation widget is shown in the following image.
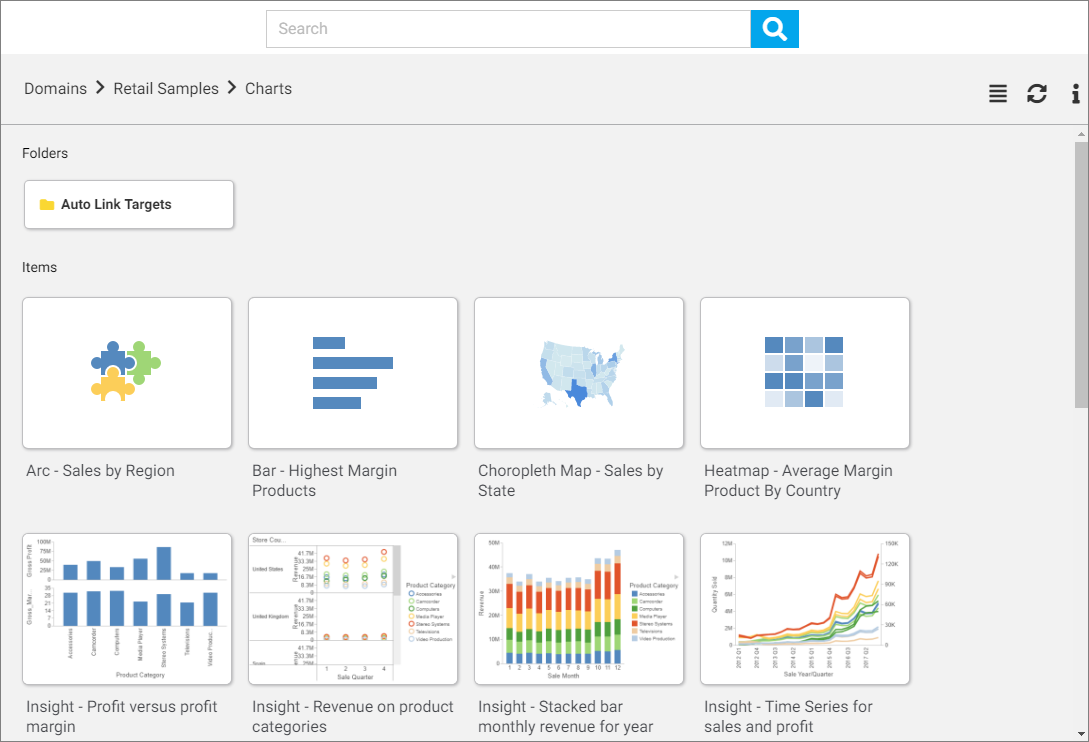
The Navigation widget lets you see the repository hierarchy, and navigate to folders and items within it. You can use the breadcrumb trail to navigate around your environment. Similar to the Home Page widget, you can search for specific items by typing a keyword into the Search field.
Note: To enable and use the Navigation and Home widgets, you must activate this tech preview option. In the Administration Console, expand the Application Settings folder, click Other and, in the Technical Preview Features field, type DesignerHome.
Procedure: How to Integrate an Embeddable Widget Into a Page
- On the Home Page, in the Actions Bar, in the Other tab, click URL.
The New URL dialog box opens.
- In the New URL dialog box, populate the Title field.
-
In the URL field, type the URL for the widget that you are creating.
For the Home widget, type the following URL:./home_widget
For the Navigation widget, type the following URL:
./navigation_widget
An example of the filled out New URL dialog box is shown in the following image.

- Click OK.
- On the Home Page, in the Actions Bar, in the Designer tab, click Page.
WebFOCUS Designer opens in the Page mode.
- Select the Blank template in the New Page dialog box.
- Drag the URL item that you created onto the canvas.
- Expand the URL item to fill the page.
- In the Properties panel, hide the Title and Toolbar for both the page and the item.
- Save your page and exit WebFOCUS Designer.
Your widget page is now complete and can be added to a portal. For more information on how to add pages to a portal, see Defining a Portal Structure. The following image shows an example of the Home widget inside a portal.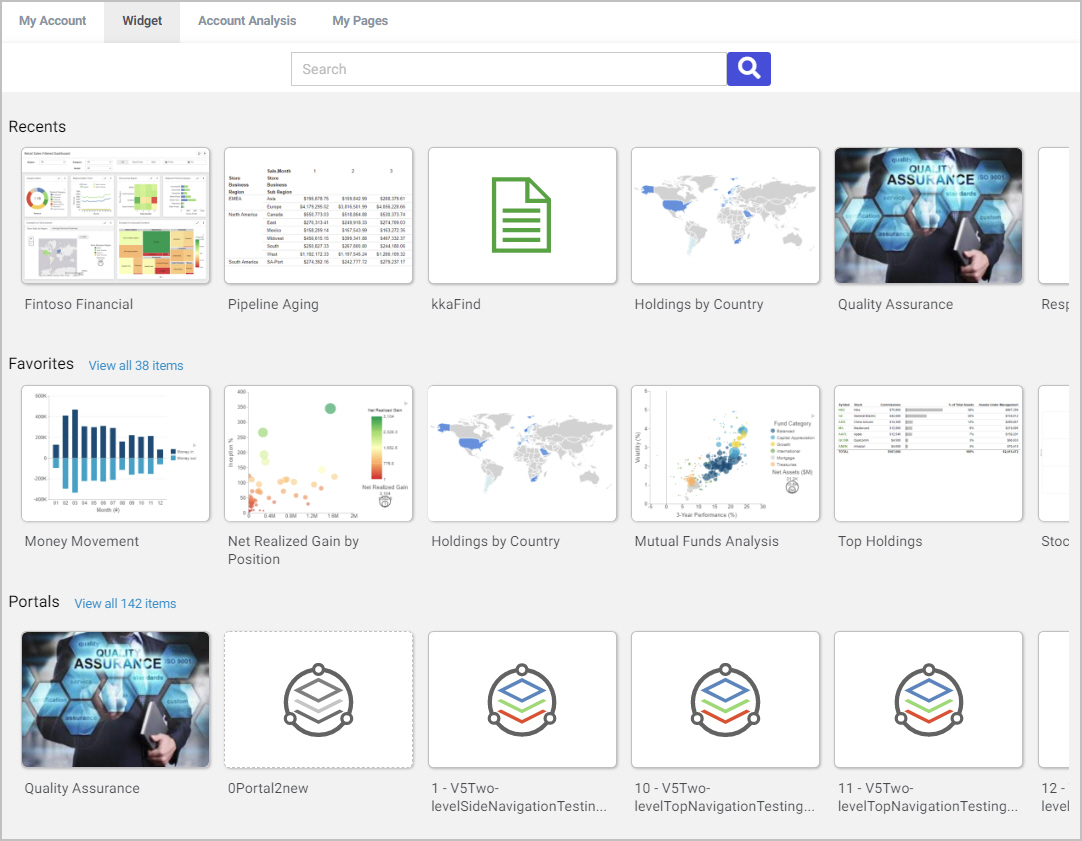
Installing and Configuring Apache Solr as a Technical Preview
Apache Solr is an open-source, high-performance, full-featured enterprise-search platform that must be configured to preview and use the Search function inside the Home and Navigation widgets. You must contact Information Builders Technical Support to obtain the two .zip files, solr-8.0.0.zip and ibi-protected.zip, needed to complete the installation and configuration of Apache Solr as a Technical Preview.
Note: Upon completion of the Solr installation and configuration process, your use InfoSearch may become disrupted. To switch back to of your original InfoSearch configuration, you must remove the Solr configuration.
Procedure: How to Install and Configure Apache Solr
- Navigate to the following directory.
For Windows:
drive:\ibi\solr\solr-8.0.0
For UNIX:
/install_directory/ibi/solr/solr-8.0.0
- Unzip the solr 8.0.0.zip file.
- Unzip the ibi-protected.zip file, and extract the contents to the following directory.
For Windows:
drive\ibi\solr\solr-8.0.0\solr-8.0.0\server\solr\
For UNIX:
/install_directory/ibi/solr-8.0.0/server/solr/
This will create the following subfolder with data indexed for the WebFOCUS retail data
sources.
For Windows:
drive:ibi\solr\solr-8.0.0\solr-8.0.0\server\solr\ibi-protected
For UNIX:
/install_directory/ibi/solr/solr-8.0.0/server/solr/ibi_protected/
- Change the default 8983 startup port.
Edit the script file.
For Windows:
drive:\ibi\solr\solr-8.0.0\solr-8.0.0\bin\solr.in.cmd
For UNIX:
/install_directory/ibi/solr/solr-8.0.0/solr.in.sh
Uncomment the following line:
REM set SOLR_PORT=8983
Specify the port, for example:
set SOLR_PORT=28983
Note:
To start or stop Apache Solr with the default port set in the script file (solr.in.cmd for
Windows, solr.in.sh for UNIX), issue the following commands:
Solr start
Solr stop
For Windows, use a CMD window from the drive:\ibi\solr\solr-8.0.0\bin\ directory.
For UNIX, use a UNIX shell from the /install_directory/ibi/solr/solr-8.0.0/bin/ directory.
To specify a custom port (for example, 28983) from the CMD window or shell, issue
the following commands:
Solr start -p 28983
Solr stop -p 28983
- Update Tomcat to include the required -D settings
From the Information Builders Program Group, open the Tomcat Configuration Utility.
Click the Java tab.
Add the following required -D settings to the Tomcat Java Options section, as shown in the following image.
-DIBI_InfoSearch_Engine=Solr
-DIBI_InfoSearch_Solr_Url=http://{solr_host_name}:{port}
For example:
-DIBI_InfoSearch_Solr_Url=http://localhost:8983

Note: If at any time you wish to switch back to using InfoSearch you must remove the following two -D lines from the Java tab of the Tomcat Configuration Utility:
-DIBI_InfoSearch_Engine=Solr
-DIBI_InfoSearch_Solr_Url=http(s)://server:port
After removing the lines, restart your application server.
Searching Content Inside Embeddable Widgets
Both Home and Navigation widgets offer robust and intuitive search functionality that allows you to quickly access content across your repository. Using a simple text bar found on top of the Home or Navigation widget, you can enter a search term to quickly display all content items that match that term. The interactive search engine updates the suggestions as you type, so you can find the desired item fast. Alternatively, you can see the entire list of items that matcha keyword in a comprehensive list view.
Note: To use the search functionality inside the widgets, you must configure the Solr search component.
Procedure: How to Search Content Inside an Embeddable Widget
- Inside a Home or Navigation widget, in the Search field, start typing a keyword.
The search drop-down list immediately offers suggestions based on the characters entered into the Search field, as shown in the following image.
Notice that when the search query matches a tag or a summary text, asecond line is added to a search result suggestion, indicating the source.
- Click an item in the drop-down list.
The item runs in the viewer.
- To view all items that correspond to the search criteria, on the bottom of the drop-down list, click View All, as shown in the following image.
All items that match the keyword display in a list view, as shown in the following image.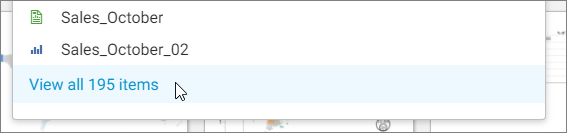
In this view, you can perform the following actions: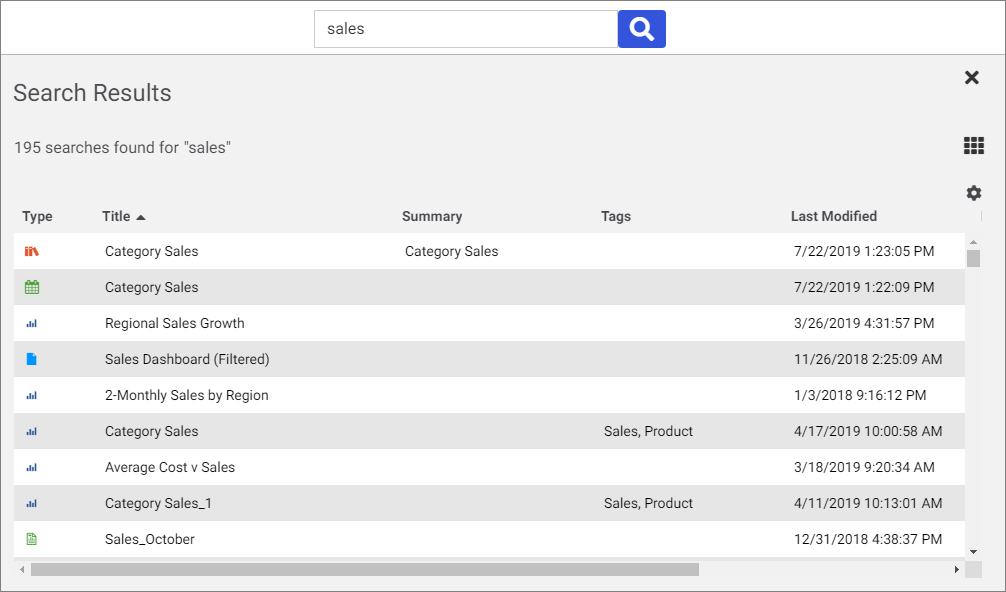
- Customize the number of columns displayed in the List view.
- Sort your results by clicking on the column title.
- Run items from the search results view.
- Switch to the Grid view by clicking the Grid icon in the upper right corner of the screen.
- Access the context menu of the items that appear in the search results view.
- To exit the search results view, click the Close icon in the upper-right corner of the widget.
- Release: 8206
- Category: Creating Content
- Product: WebFOCUS Home Page