Creating Data Flows
Data flows allow you to extract information from data sources, and load it into data targets for future analysis and use. You create data flows from the Web Console by right-clicking an application folder or synonym, and selecting the Flow shortcut menu option to open the data flow canvas.
You can build a data flow from a set of objects that identify data sources, data columns to include, and data targets. A flow is loaded to form a data warehouse, data mart, or any other type of target, containing only the data you need.
Before you run the flow, you can edit and enhance the transformations made before loading the data to the target. Data is staged while you are editing the flow and is not actually loaded to the target until you run the flow.
Best Practice
|
Procedure: How to Create a Simple Data Flow
- From the Web Console, right-click a folder in the Applications panel, point to New, and select Flow. Alternatively, you can double-click a folder in the Applications panel to open the Application Directories panel, right-click a synonym, and select Flow.
An SQL object displays on the canvas by default to anchor the flow.
- To add a data source object, drag a data source from the Data panel folders onto the canvas, to the left of the SQL object.
Note: Your data source will already be on the canvas if you opened the flow from the Web Console by right-clicking a synonym and selecting Flow.
- Double-click the Select Columns SQL object to select the columns that you want to extract from the source and copy into the target.
- Click New Target from the canvas toolbar to add a new data target to the data flow, or click Existing Target to select an existing data target from the Open dialog box.
The target is added to the right of the SQL object on the data flow canvas.
- Save your data flow.
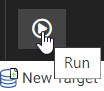
- Run your data flow by clicking the Run button on the ribbon, as shown in the following image.
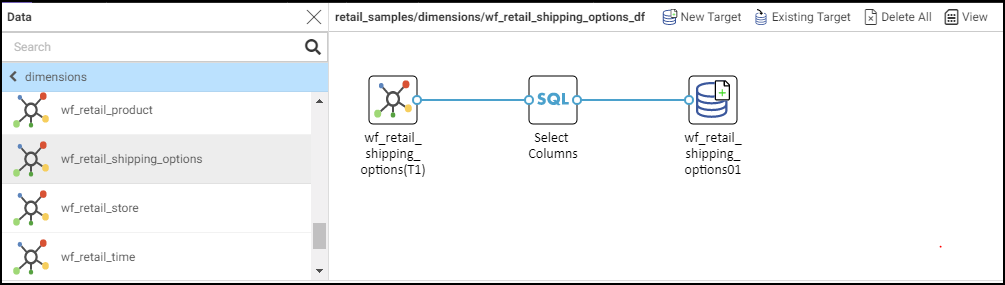
A simple data flow with a data source, an SQL object, and a data target, is shown in the following image.
Your chosen target now contains the data extracted from your original data source.
- Release: 8207, 8206
- Category: Data Management
- Product: WebFOCUS Application and Enterprise Editions
- Tags: Best Practice