Creating a Business View on a Target in a Data Flow
You can create a Business View for the target to categorize the columns into measures and dimensions. This view of the data is used by Designer for creating reports and charts.
Right-click the target and select Edit Business View. A default Business View is created, as shown in the following image.
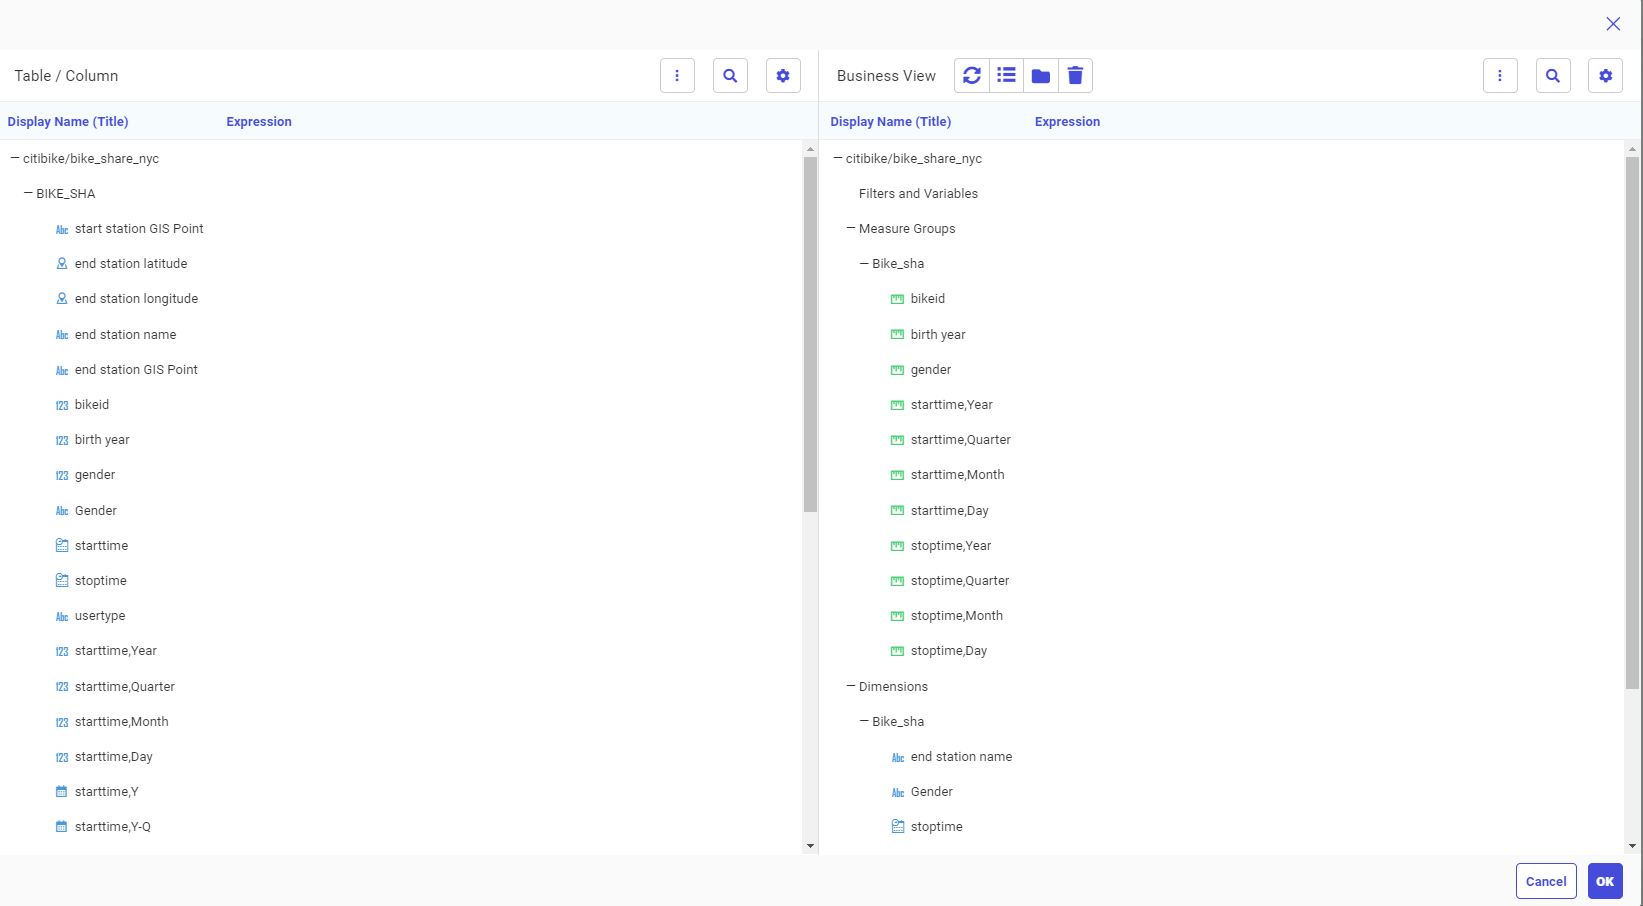
By default, numeric fields are added as measures and alphanumeric fields are added as dimensions. You can edit the Business View using the options available. You can reclassify fields to change their DV roles, remove selected fields from the Business View, rename folders, and add new folders.
For the Citi Bike trip data, you can make the edits similar to the following.
- Make Trip ID a dimension field. Right-click Trip ID and select Cut. Then right-click Dimensions and select Paste.
- Rename the start folder. Right-click the folder named start and select Properties. Enter the name Start Station and click OK.
- Rename the starttime, Simple folder. Right-click the folder starttime, Simple and select Rename. Enter the name Start Date and click OK.
- Move Hour and Week fields. Multi-select Start,Hour and Start,Week and select Cut. Scroll down to Start Date. Right-click and select Paste.
- Move start station id to the dimension Start.
- Move end station id to the dimension End.
- Remove the fields bikeid and trip limit from the Business View. Multi-select those fields, right-click, and select Hide.
- Create a new dimension. Right-click Dimensions and click Manage Folders, then New Folder. A folder is added named Dimension(1). Right-click the folder and select Rename. Enter the name Rider Information and click OK.
- Move the fields usertype, birth year, and age to Rider Information. At this point only fields left in Measures should be Trip Duration.Minutes, Trip Duration.Base Minutes, and Trip Duration.Overage.
- Add a hierarchy to Start Station. Right-click Start Station and select Manage Folders, then New Folder. A new folder is added called Hierarchy (1). Right-click the folder and select Rename. Enter Location and click OK.
- Move the fields from geography to Location.
- Release: 8207
- Category: Accessing Data, Connecting to Data, Data Management
- Product: Reporting Server
- Tags: Release Features