Applying Themes and Styles to Pages
While customizing your page, you can apply themes and styles to various page elements. The general theme of the page is defined by the Theme setting, which you can configure in the Properties panel, on the page level. A theme affects the look of the entire set of elements on the page, including colors, opacity, and typeface styles. Themes also dictate the color schemes available as styles on the Format tab when editing sections, filters, or containers.
By default, the theme selected for a page is passed on to content in the page. You can select content items inside a container and change the theme for each one individually from the Format tab. If the content item was added to the page from the Content tab, you can additionally choose to use the original theme of the content item, instead of inheriting the page theme or selecting a specific theme to use.
There are four themes that WebFOCUS Designer offers
- Designer 2018
- Light
- Midnight
- Vivid
To add a theme to this list, create a folder in the Global Resources area, in the Custom folder within the Themes folder. In that folder, you can add a custom StyleSheet to use with charts and reports, and a custom CSS file to use for pages. The .sty file and .css file must both be named themes.
Note: To facilitate the creation of a custom theme, you can copy and modify properties from one of the themes included with WebFOCUS. This makes it easy to identify the default classes used in a Designer page.
Once you select a theme, you can further modify it by configuring styles. You can also save your unique combination of a theme and styles as a custom theme.
Procedure: How to Apply a Theme to a Page
- In WebFOCUS Designer, click the page toolbar to select the entire page, and then click the Format tab on the Properties panel.
The style properties appear.
- In the Page Style section, from the Theme property drop-down list, select the theme that you want to use.
The page refreshes with the new theme.
- Save your changes.
Procedure: How to Apply Styles to Sections
- In WebFOCUS Designer, select a page section by clicking the background area near a container, or by selecting a section from the Outline.
- On the Properties panel, click the Format tab.
The Style properties appear.
- Click a style that you want to use.
Note: Styles are based on classes in the selected theme. For example, use the class .pd-style-default-color to configure the Default style of the theme, use the class .pd-style-color2 to configure Style 2 of the theme, and use the class .pd-style-color3 to configure Style 3 of the theme.
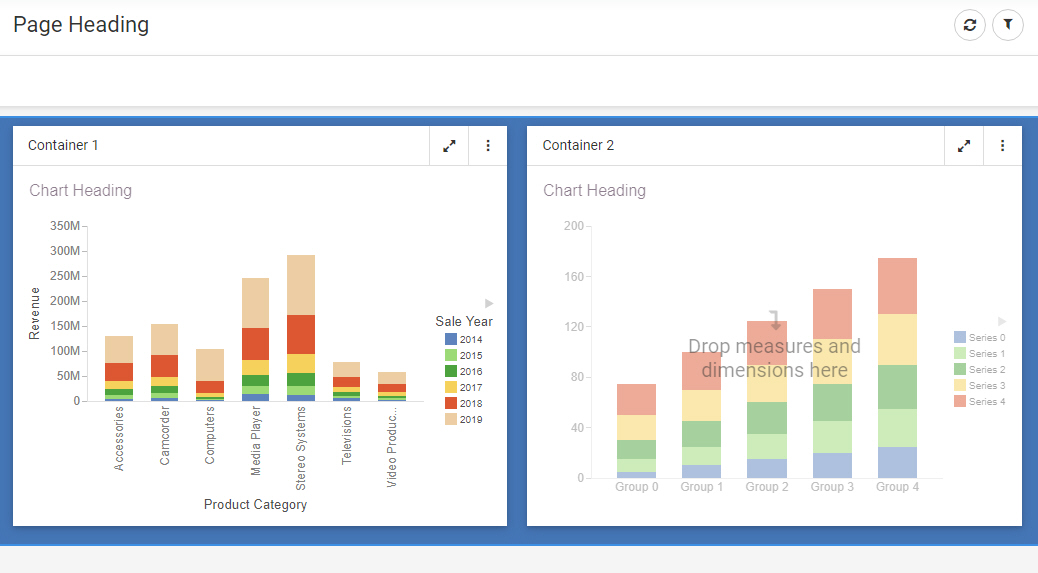
The page refreshes and applies the style to the section, as shown in the following image, where the selection of Style 2 has made the first section blue.
- Optionally, add more sections and apply styles to them.
- Click the new section and apply a style to it, as described in step 3.
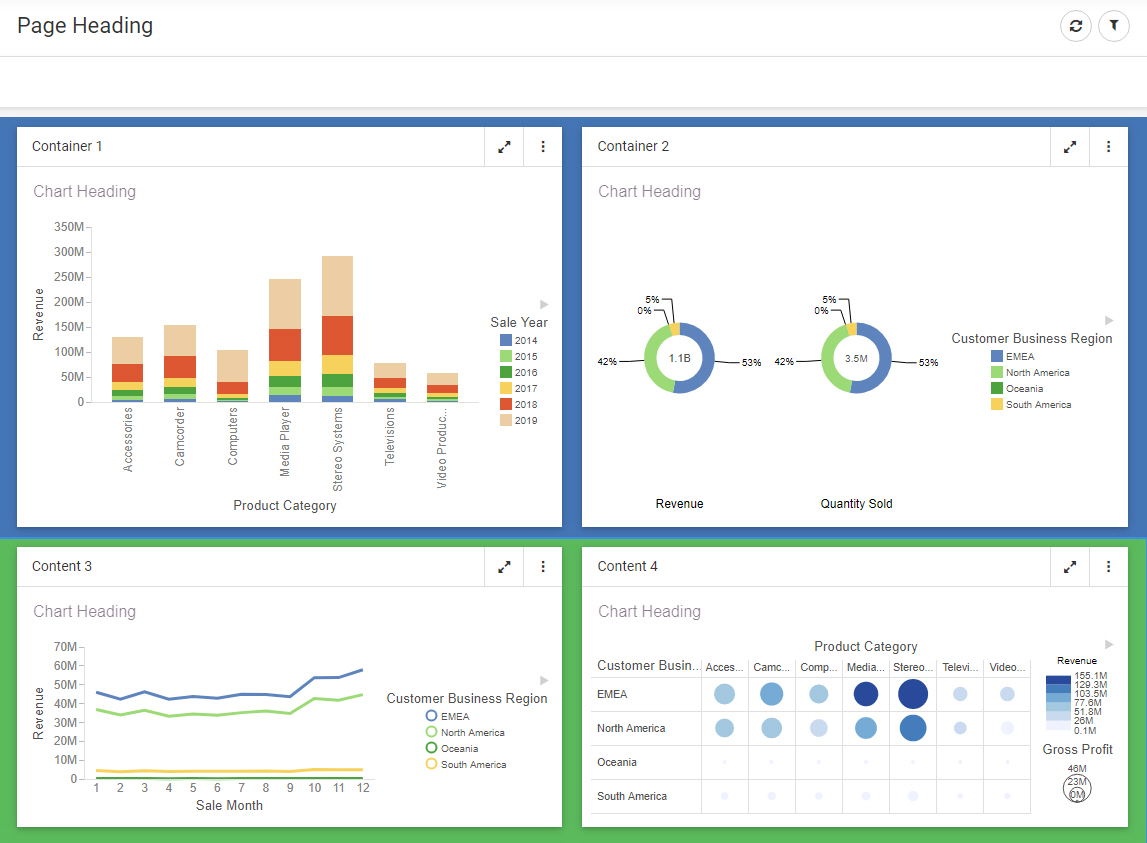
The page refreshes and applies the new style. You can apply different styles to different sections, as shown in the following image.
- Save your changes.
Procedure: How to Apply Styles to Containers
- In WebFOCUS Designer, create a visualization with multiple containers.
- Click a container, and on the Properties panel, click the Format tab.
The Style properties appear.
- Click a style that you want to use.
Note: Styles are based on classes in the selected theme. For example, use the class .pd-style-default-color to configure the Default style of the theme, use the class .pd-style-color2 to configure Style 2 of the theme, and use the class .pd-style-color3 to configure Style 3 of the theme.
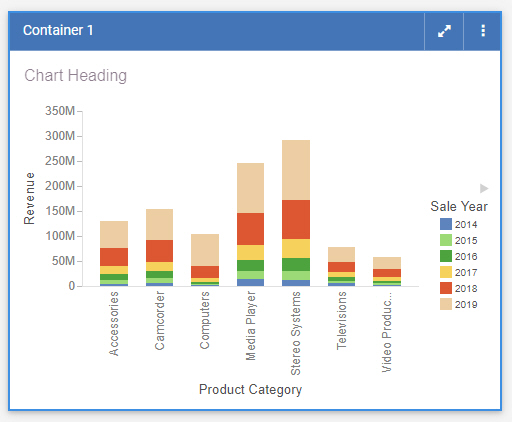
The page refreshes and applies the style to the container, as shown in the following image.
- Optionally apply styles to other containers on the canvas.
Note: When creating a visualizations from existing content, to apply the same style to multiple containers, multi-select containers by holding the Ctrl key, and then click a style button.
- Save your changes.
Procedure: How to Create a Custom Theme
- Sign in to WebFOCUS as an administrator.
- On the start page or Home Page, click Workspaces and, from the Resources tree, expand the Global Resources folder, and then expand the Themes folder.
- Open the Custom folder, and then click Folder on the Action bar.
The New Folder dialog box opens.
- Populate the Title field with the name of your custom theme, and click OK.
The custom theme folder is created. Your theme CSS file will reside in this folder. If you know which CSS classes should be used for your theme, you can create a new CSS text file, add your code, and save it with the name theme. The file must be called theme to be available for selection in WebFOCUS Designer. To facilitate the process, you can modify an existing theme CSS file. In this example, we copy and modify the theme CSS file for the Light theme.
- Expand the Standard folder, and then expand the Light folder.
- Copy the theme CSS file, and paste it inside your new custom theme folder.
The following image shows the correct hierarchy of the custom theme file.
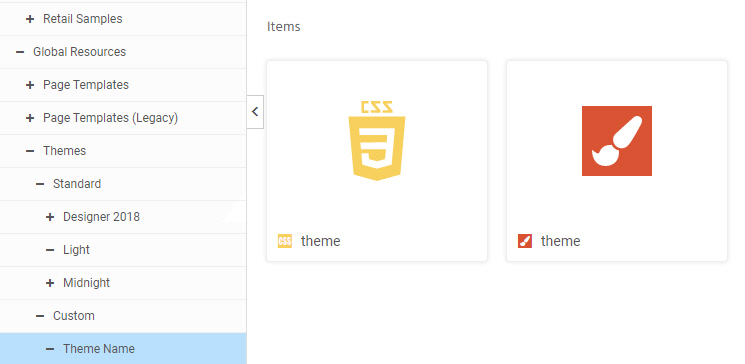
Note: Do not modify the name of the theme CSS file. It is imperative that both the CSS file and StyleSheet in your custom theme folder are called theme. The name of the folder in which the file resides is the theme name that is visible in WebFOCUS Designer.
- Right-click the newly copied theme CSS file, and then click Edit.
The Text Editor window opens.
- Modify the code to achieve the desired look of the theme.
In this example, you could change the background color from white #fff to yellow #ffff00.
- Save and close the Text Editor.
- Optionally, configure a related content theme by creating a StyleSheet (.sty) file called theme. You can copy this from an existing theme folder, such as the Light folder, as well.
The styling properties in the StyleSheet will be applied automatically to content on the page when your custom theme is used, unless that content has a different theme explicitly assigned.
- In WebFOCUS Designer, apply the new custom theme to a page.
An example of a new theme applied to a page is shown in the following image.
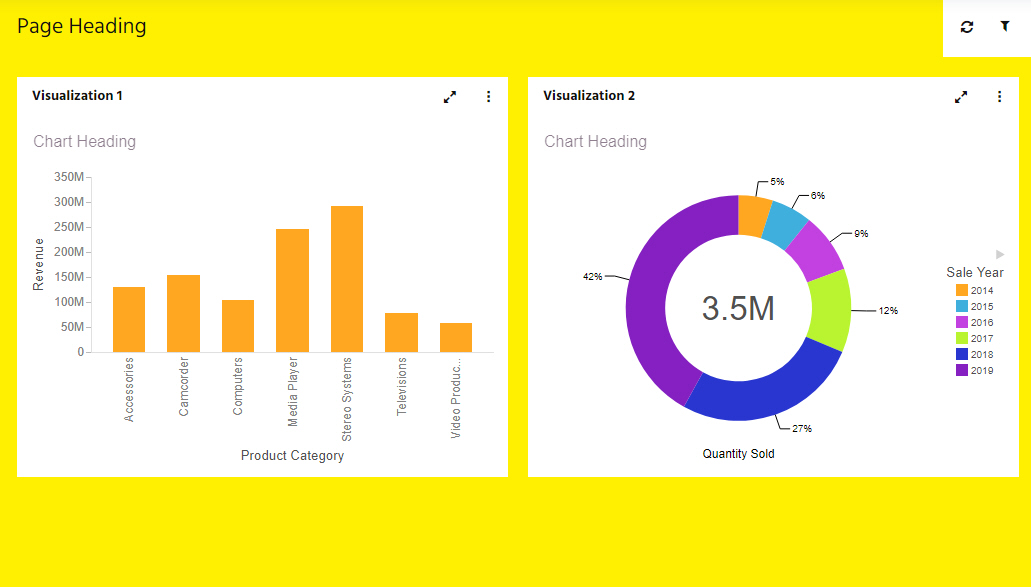
Notice that the content theme, or StyleSheet, associated with the page theme was automatically applied to the content on the page.
- Save your changes.
- Release: 8207
- Category: Adding Content to Pages
- Product: WebFOCUS Designer
- Tags: How-to's