Configuring an Esri On Premise Environment
The Esri On Premise functionality enables you to download and access mapping files through the use of a local Application Programming Interface (API). Once you download and configure the API, you do not need an internet connection to utilize the robust mapping features that Esri provides. For information on downloading and configuring the API that controls this feature, see How to Download and Configure the ArcGIS JavaScript API.
The Esri On Premise functionality provides you with local access to Esri mapping files. This is particularly useful if you are away from your office or without an internet connection. You may also be using a mobile device, such as an iPad or smartphone with a large screen, without an internet connection. The following mapping components are supported when using the Esri On Premise functionality:
- Offline Basemaps. Basemaps are an offering from ArcGIS. Standard basemaps are provided for your use offline. For example, there is an Oceans basemap and a Terrain with Labels basemap. These basemaps are also known as backgrounds. In an online setting, there are 10 basemaps available. In order to use offline basemaps you need to use a tiled mapservice published in the ArcGIS Server.
- Offline Geographic Roles. Geographic Roles are used to visualize measures with commonly known dimensions (for example, Country, State, Cities, and so on). These provide the location information often in the form of (x/y) needed to plot on a map. Geographic roles are pre-defined for online users through ArcGIS Online. A geographic role defines the geographic component that you can select when creating a map (for example, State or Continent). For an offline user, the options that display can be customized in the geoservices.xml file. For more information, see Adding a Custom Geographic Role.
Note: Demographic Layers are not supported in an Esri On Premise environment.
Procedure: How to Download and Configure the ArcGIS JavaScript API
You can use this procedure to download and configure the API that controls the Esri On Premise environment.
- Sign in to Esri ArcGIS.
- https://developers.arcgis.com/downloads/#javascript
- Navigate to Version 3.28 of the ArcGIS API for JavaScript, as shown in the following image.
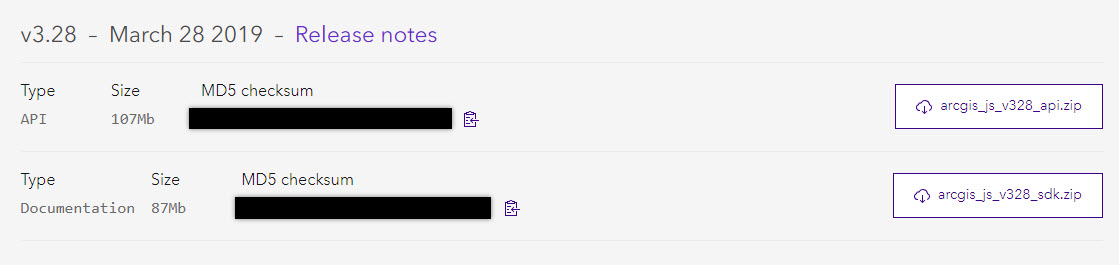
- Click arcgis_js_v328_api.zip to download the API.
- In drive:\ibi\WebFOCUSnn\config\web_resource, create a folder named arcgis_api.
- Open the arcgis_js_v328_api.zip file downloaded in step 4 and navigate to arcgis_js_v328_api\arcgis_js_api\library\3.28\3.28.
- Extract the files in that folder to the drive:\ibi\WebFOCUSnn\config\web_resource\arcgis_api folder.
- Next, verify the path to the API in the Administration Console, as shown in the following image.
Note: This is the path to which you extracted the API files. For example, /web_resource/arcgis_api.
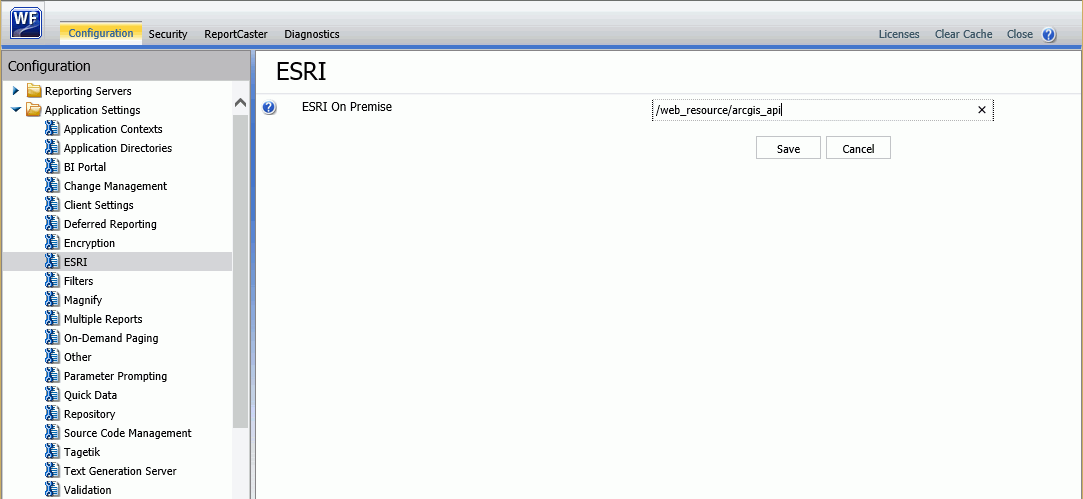
This field identifies the path to the internal ArcGIS Javascript API Source that develops ESRI-based maps. This setting is blank, by default, indicating that the use of the internal API source to develop ESRI maps is not activated. The API that is referenced is https://js.arcgis.com/3.28/, by default. To direct WebFOCUS Designer to use the internal ArcGIS Javascript API to develop ESRI maps, enter the path to the local API files that you extracted into this setting. For more information, see the WebFOCUS Security and Administration manual.
Note: This path should be a relative path that is accessible within the local install.
- Click Save.
- Next, open the following two local API files in a text editor:
- drive:\ibi\WebFOCUSnn\config\web_resource\arcgis_api\init.js
- drive:\ibi\WebFOCUSnn\config\web_resource\arcgis_api\dojo\dojo.js
In both files, search for HOSTNAME_AND_PATH_TO_JSAPI to locate the baseUrl property. Replace the string [HOSTNAME_AND_PATH_TO_JSAPI] in baseUrl:"https://[HOSTNAME_AND_PATH_TO_JSAPI]dojo" with the path to your on-premise ArcGIS server. For example:
baseUrl:"https://localhost/arcgis/jsapi/jsapi/dojo"
- In the Administration Console, click Clear Cache to clear the browser cache. Your configuration is complete.
- Release: 8207
- Category: Visualizing Data
- Product: WebFOCUS Designer
- Tags: How-to's